 Ready
Ready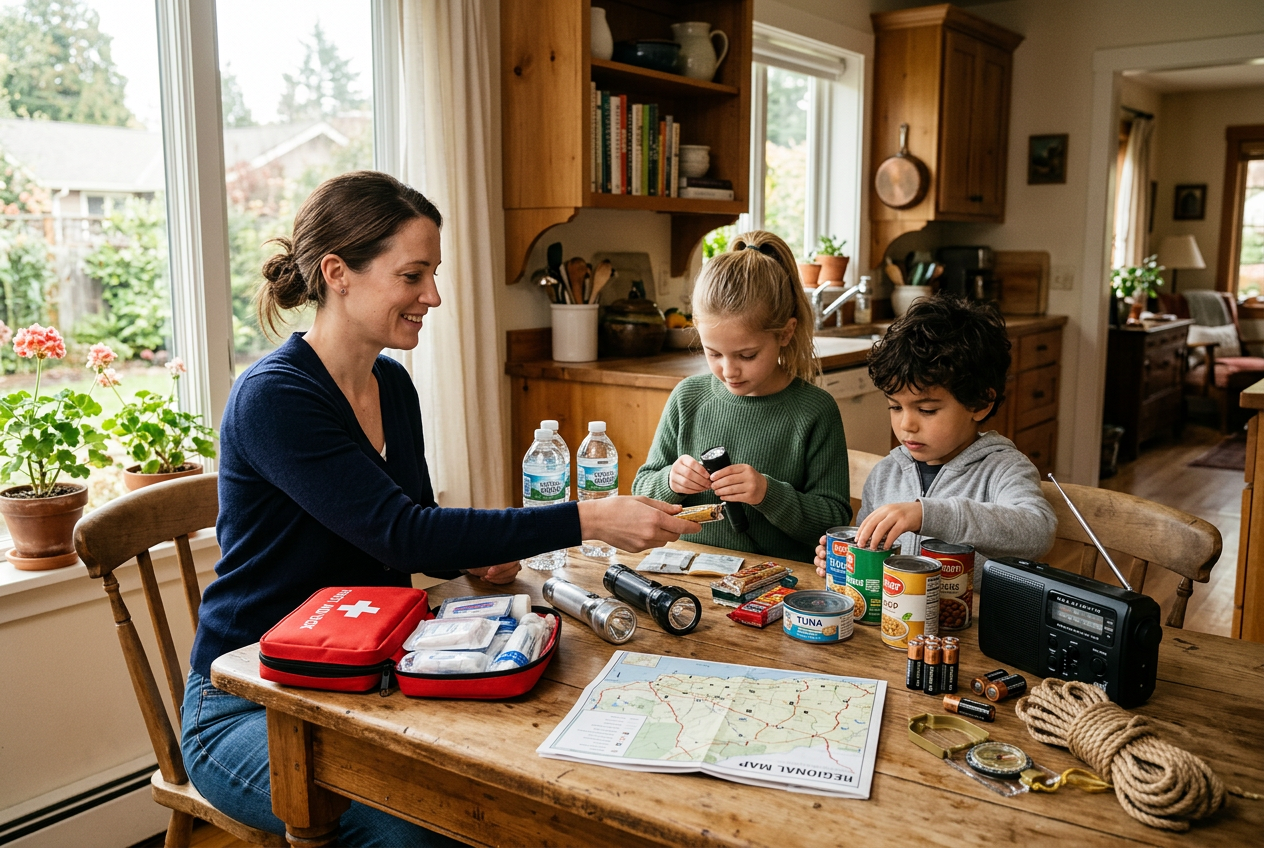
Emergency Preparedness Merit Badge: A Family-Friendly Study Guide for Scouts (2026)
Your scout comes home excited about earning the Emergency Preparedness merit badge. Then they see the requirements and feel stuck. Where do they start? What is this worksheet everyone talks about? And how does a busy family fit it all in?
This guide makes it simple. It is a family-friendly companion for scouts working on the Emergency Preparedness merit badge and the official worksheet. We walk through the badge step by step, in plain words, so your scout knows exactly what to do.
First, a quick note about the worksheet. It is a note-taking tool. Your scout writes down their answers so they can talk about them with their counselor. The worksheet is not a shortcut around the real work. Your scout still has to learn the skills, inspect the home, and build a real plan. The paper just helps them stay organized.
Some parts of this badge need you, the parent or guardian. The home safety checklist means looking at your own house. The family emergency plan means planning with your whole family. So expect to be involved. That is a good thing. This badge helps your household get ready together.
Here is what we cover. We explain how the badge and worksheet work. We break down the key requirements, including first aid, home safety, and building your family plan and kit. We share study tips and answer common questions. Let’s get started.
- Work through all the merit badge requirements in order, using the official worksheet to track your answers.
- Build a family emergency plan and practice it, including at least 2 meeting spots and an out of town contact.
- Put together a 72 hour kit with water, food, first aid, and a flashlight for each person.
- Study the main hazard types like fire, flood, and storms so you know how to respond to each one.
- Meet with your counselor to review your work and finish the sign off steps.



Reviewed by Elena V., Beth O. & Marcus T. — contributors with hands-on preparedness experience. How we test
Getting ready for this badge is easier when you have the right study tool in hand. Grab it first, then read on to see how it fits into your plan.

Emergency Preparedness Pamphlet
This is the official guide that lays out every requirement in plain steps. It walks scouts and families through planning, kits, and safety so nothing gets missed.
Check Price on AmazonIn this guide
Why Trust This Guide?
This article was researched and reviewed by contributors with hands-on experience in emergency preparedness. They have tested gear, built real systems, and lived through situations where these skills actually mattered.
How the Merit Badge and Worksheet Actually Work
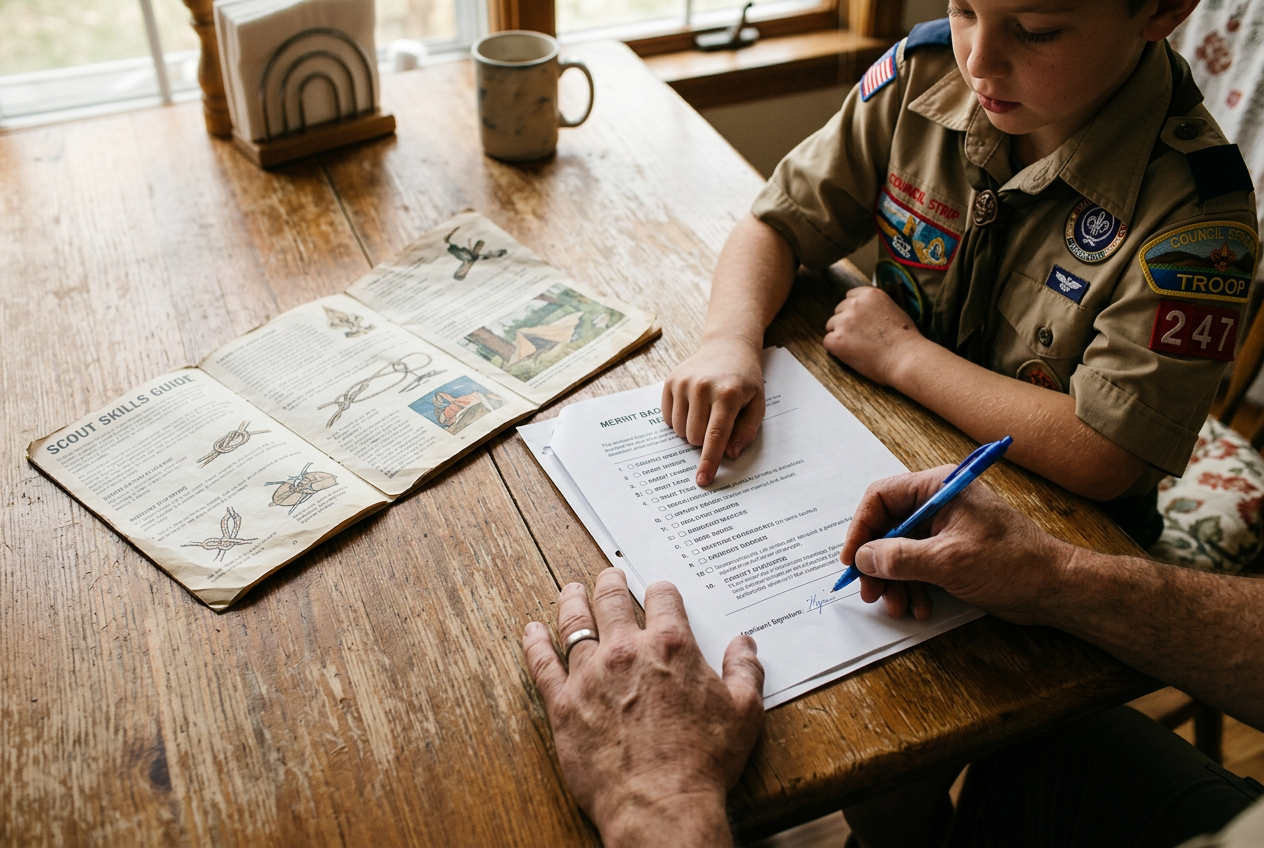
Before you dive into the tasks, it helps to know how the pieces fit together. Four things matter here: the requirements, the pamphlet, the worksheet, and the counselor. Each one has a job. When you understand those jobs, the whole badge feels much simpler.
The Requirements
The requirements are the official list of tasks. They tell you exactly what your scout must do to earn the badge. Some ask for first aid skills. Some ask you to plan for hazards at home. Others ask you to build a family plan and kit. You cannot swap in your own ideas. The requirements are set by Scouting America.
Here is something important to notice. Many requirements say “do ONE of the following.” That means you get to pick from a list of choices. You do not have to do every option. You only do the number the requirement asks for. This keeps the badge flexible for different families and different homes.
The Official Pamphlet
The pamphlet is the study book for this badge. It explains each topic in plain terms. It also holds tools you will need, like the home safety checklist used in Requirement 3. Your counselor may accept a checklist they approve instead, but the pamphlet version is the standard one. If you want the official source, this is it.
Reading the pamphlet first saves time. It answers many questions before you ever meet with your counselor. Think of it as the textbook for the badge.
The Worksheet
The worksheet is not the badge itself. It is a place to organize your answers. You write down what you learned, what you did, and which options you picked. Since so many requirements say “do ONE of the following,” the worksheet helps you track your choices. You can see at a glance what is done and what is left.
A quick note. A worksheet is only a study helper. Filling it out does not earn the badge by itself. Your scout still has to actually do the work and show it to the counselor. If you find this guide helpful, you can print this page and use it to organize your notes.
The Counselor
The counselor is a registered adult approved to teach this badge. They meet with your scout, check the work, and sign off when a requirement is truly met. This is a key point. The counselor confirms real learning, not just words on paper. If your scout writes an answer but cannot show the skill, the counselor may ask them to try again.
So the process looks like this. Read the pamphlet. Work through the requirements. Use the worksheet to stay organized. Then meet with your counselor to show what you know. When you understand these roles, you can move forward with a clear plan.
Requirement 1 & 2: First Aid and Knowing the Hazards
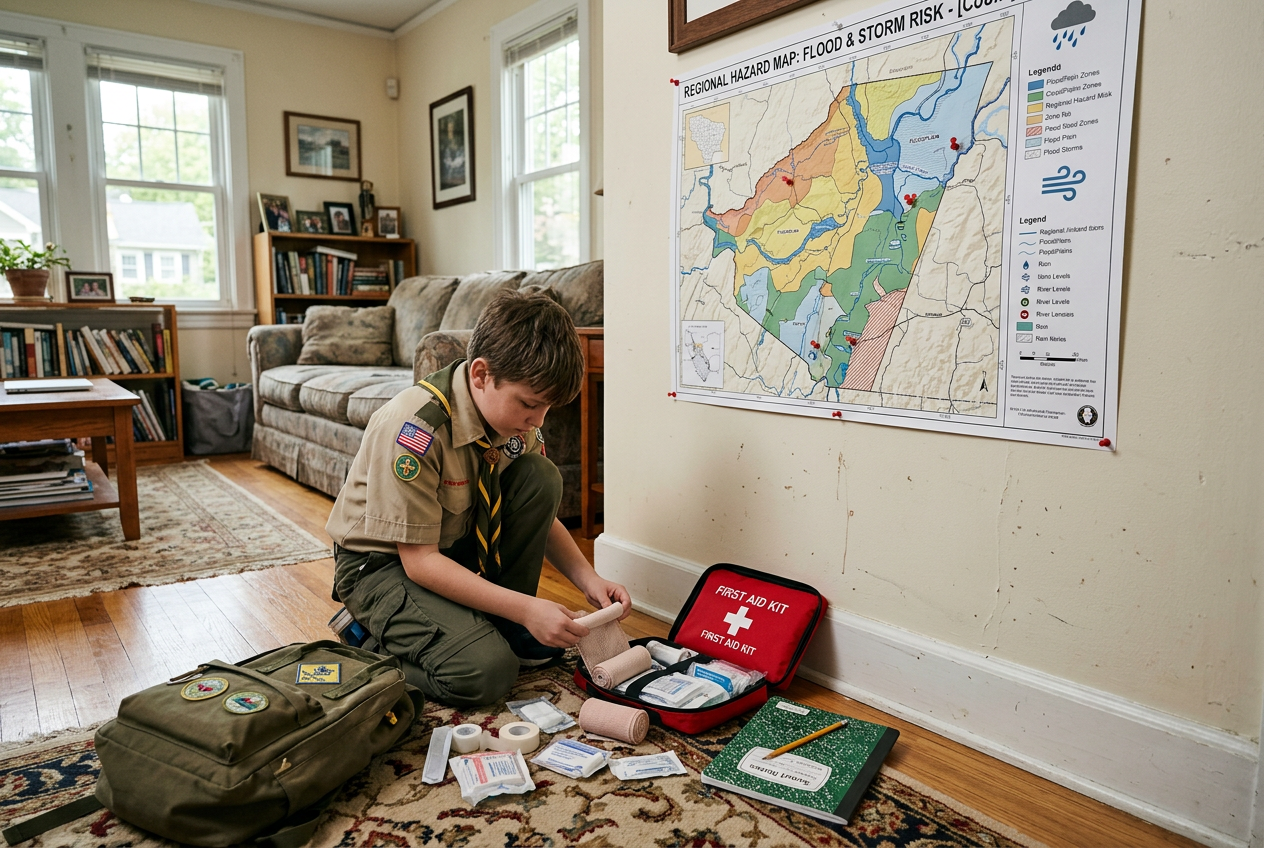
The first two requirements build the base for everything else in this badge. They connect first aid know-how with a clear look at the emergencies that could happen where you live. Do not rush these. They set up the plans and kits you build later.
Requirement 1: First Aid Knowledge
Requirement 1 links to first aid skills. You show that you understand basic first aid before you dive into emergency response. Your counselor may ask you to prove you have earned or completed related first aid work. Check the current requirements in your official Emergency Preparedness merit badge pamphlet so you know exactly what your counselor expects.
Why does first aid come first? In a real emergency, someone may get hurt before help arrives. Knowing how to respond calmly is a core part of being prepared. Write down the first aid steps you already know on your worksheet. That gives you and your counselor a clear starting point for your talk.
Requirement 2: Knowing the Hazards in Your Area
Requirement 2 asks you to think about the emergencies that could happen where you live. Every place is different. A family near a river may worry about floods. A family in a dry region may plan for wildfires. Others may face storms, power outages, or earthquakes.
Start by making a simple list. Ask yourself these questions:
- What weather events happen in my area?
- Have my neighbors or family talked about past emergencies?
- What could go wrong in or around my home?
You do not need fancy tools for this. Talk to your parents or guardians. Ask what emergencies they remember. Local news and community alerts can also help you spot common risks. FEMA’s Ready campaign shares free planning tools that can guide your thinking.
Recording Your Answers on the Worksheet
The worksheet is just a place to organize your thoughts. It is not a test with trick questions. Write in plain words. Short answers are fine. You want notes you can explain out loud to your counselor later.
Here is a simple way to record Requirement 2:
- List each possible emergency for your area.
- Write one reason it could happen where you live.
- Note how serious it might be for your family.
Keep your notes honest and specific to your home. A generic answer copied from a website will not help you during your counselor talk.
Talking It Over With Your Counselor
Your counselor wants to hear your thinking, not perfect answers. Bring your worksheet notes to the meeting. Be ready to explain why you picked each hazard. If you are unsure about something, say so. That is how you learn.
There is no official worksheet download here. You can print this page and use it as a guide, or use the worksheet your counselor approves. Either way, the goal is the same. You should end these two requirements knowing your local risks and feeling ready to plan for them.
Requirement 3: The Home Safety Checklist Walkthrough
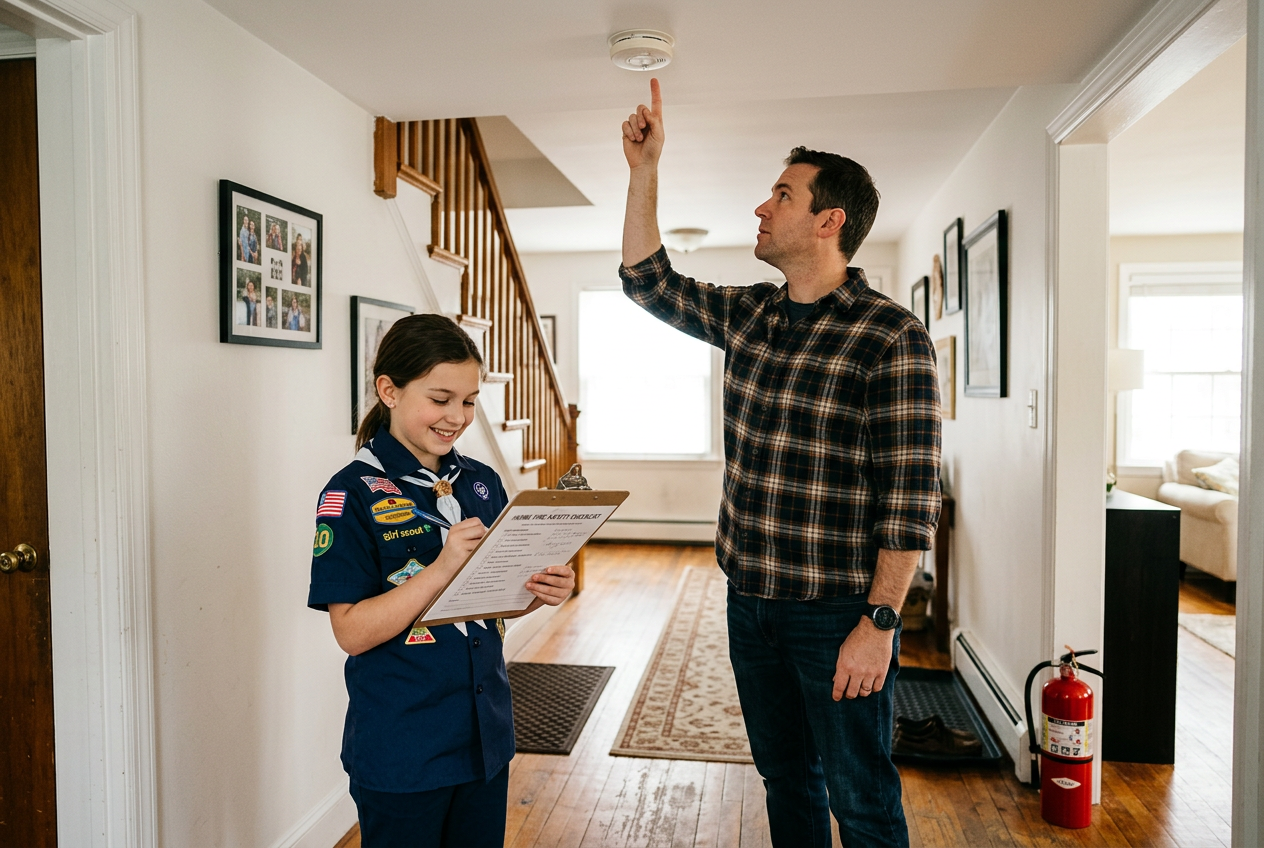
Requirement 3 gets you moving. You inspect a home for hazards using a home safety checklist. You can use the checklist in the Emergency Preparedness merit badge pamphlet or one your counselor approves. This is a hands-on task, so plan to walk through the house room by room.
Before you start, ask a parent or guardian to join you. This is not just a rule. A grown-up knows where the water shutoff is, how old the smoke alarms are, and what has already been fixed. Working together also makes the fixes easier to plan.
How to Walk Through Each Room
Go one room at a time. Look high and low. Write down what you see on your worksheet as you go. Do not fix things while you inspect. Just record them first. Here is what to look for in common areas.
Kitchen. Check that a fire extinguisher is nearby and easy to reach. Look for pot handles that stick out over the edge of the stove. Note any cleaning supplies stored low where small children can reach them.
Living room and bedrooms. Look for smoke alarms and test them if a parent says it is okay. Check that windows open easily in case you need to escape. Look for loose rugs that could trip someone. Note any cords running under furniture.
Bathroom. Check for slip risks in the tub or shower. Note medicines stored where kids can reach them. Look for space heaters or appliances too close to water.
Hallways and stairs. Make sure paths are clear. Look for a working flashlight. Check that stair rails are steady.
Garage and storage areas. This is where fuel and chemicals often live. If gasoline is stored, it should be in approved containers only. It should never be inside living space. Keep it away from anything that could start a spark and away from children. Note anything that breaks these rules.
Basement and utility areas. Find the water and gas shutoffs. Look for a carbon monoxide alarm near sleeping areas and fuel-burning appliances. Note clutter blocking exits.
Recording and Discussing Your Findings
Your worksheet is where you keep score. For each item, write what you found and whether it is safe or needs work. Be honest. The goal is a safer home, not a perfect grade.
When you finish, sit down with your parent or guardian and talk through the list. Decide together which fixes to do first. Some are quick, like moving cleaning supplies up high. Others may take time or cost money, like new smoke alarms. Agree on who will handle each one.
The pamphlet lists the full checklist and explains each item in more detail. You can find it here:
Bring your finished worksheet to your counselor. They will want to hear what you found and what your family plans to fix.
Requirement 6: Building Your Family Emergency Plan and Kit
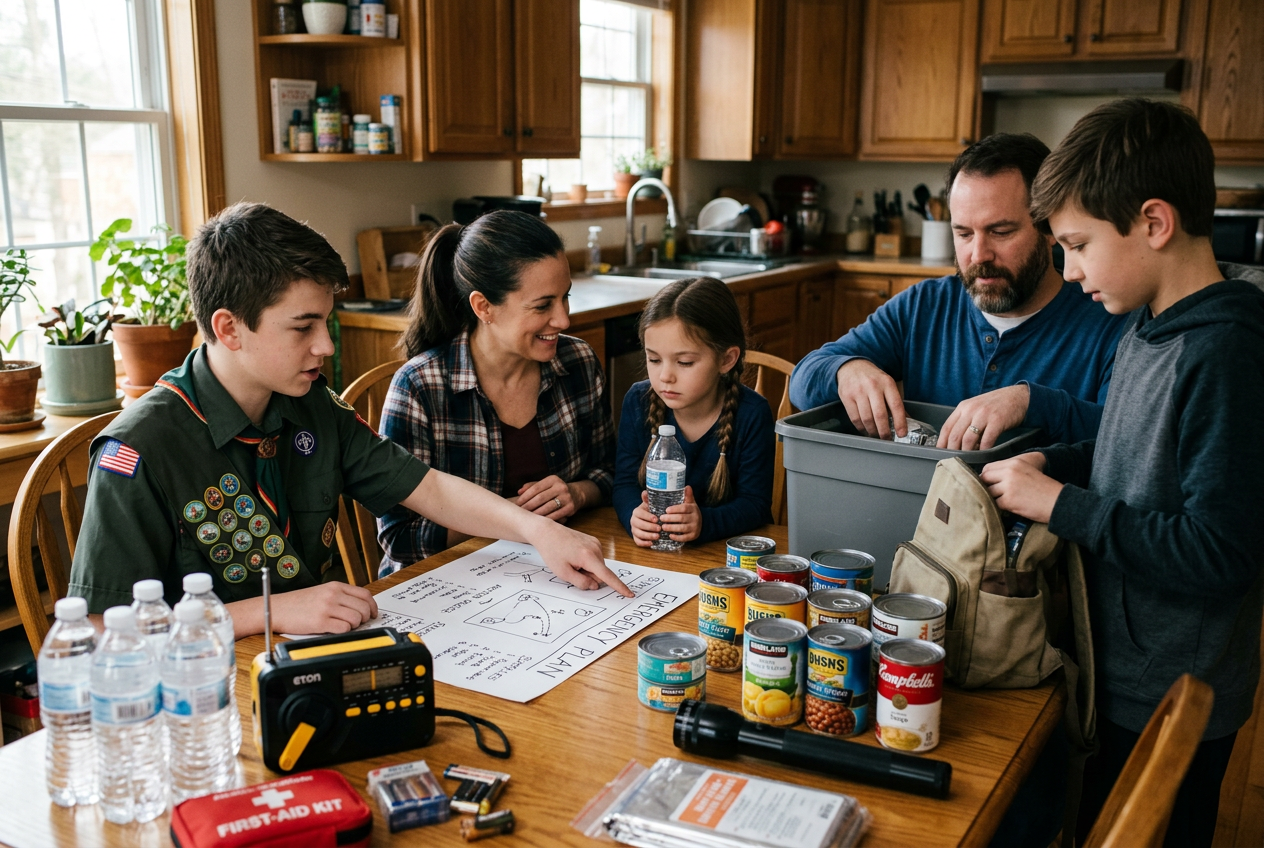
Requirement 6 asks you to build a family emergency plan and a home kit. This is where the badge gets real. You are not just answering questions. You are getting your whole family ready for an emergency. The good news is you can lead this. You do not need to be an expert. You just need to ask the right questions and write down the answers.
Start With a Family Meeting
Get everyone together. Sit at the kitchen table. Tell your family you are working on your merit badge and need their help. This makes it a team project. Your counselor wants to see that your family took part, not that you did it alone.
Talk about what could go wrong in your area. A fire. A storm. A power outage. You already thought about hazards in earlier requirements. Now you plan for them.
Pick Your Meeting Places
Choose two meeting spots. Pick one right outside your home. This is where everyone goes if there is a house fire. A tree in the front yard or a neighbor’s mailbox works well. Pick a second spot away from your neighborhood. This is for times you cannot get home. A library, a school, or a relative’s house are good choices.
Write both spots on your worksheet so you do not forget.
Set Up Your Contacts
Pick one out of town contact. This is a friend or family member who lives far away. In a big emergency, local phones may be busy. It can be easier to reach someone far away. Make sure everyone knows this person’s number. Write it down. Do not just save it in a phone that could run out of battery.
Build Your Home Kit
Now put together a kit your family can grab fast. Keep it simple. Include water, some food that does not spoil, a flashlight, extra batteries, and a first aid kit. Add any medicine your family needs. Keep copies of important papers in a sealed bag. Store it all where everyone can find it.
Do not go overboard. You do not need to buy a mountain of supplies. Start with what your household already has and fill the gaps.
The Emergency Preparedness merit badge pamphlet lists what your kit should include. Use it as your guide when you talk with your counselor.
Practice the Plan
This is the most important part. A plan on paper does not help if no one remembers it. So practice. Walk your family to both meeting spots. Run a fire drill. Time how fast everyone gets out. Then talk about what went well and what needs work.
Log the whole thing on your worksheet. Write your meeting places, your contact, your kit list, and the date you practiced. Your counselor will want to hear how the drill went. That story shows you did the real work, not just the writing.
Study Tools at a Glance

You do not need to buy everything to earn this badge. But it helps to know what each tool does. Some tools explain the “why” behind each requirement. Others just give you space to write your answers. The best plan mixes both.
Below is a quick look at the main study tools. Compare them and pick the combination that fits your scout.
The official pamphlet
The Emergency Preparedness merit badge pamphlet is the main source. It explains each requirement in plain steps. It also holds the official home safety checklist mentioned in Requirement 3. If you want one tool that covers everything, this is it. Your counselor may also expect you to use it.
Free online worksheets
Many websites offer free worksheets for this badge. They list each requirement and give you blank space to write your answers. This is handy for staying organized. But there is one thing to watch. Requirements change over time. Some free worksheets are older versions. Always check that the worksheet matches the current requirements before you rely on it.
A worksheet is a companion to the requirements. It is not a replacement. Filling in blanks does not teach you the material. You still need to read, learn, and talk with your counselor. Think of the worksheet as a place to record what you know, not a shortcut around the work.
Free checklists
Requirement 3 asks you to inspect a home using a safety checklist. The pamphlet includes one. Your counselor can also approve a different one. Checklists help you walk room to room and spot hazards you might miss.
We include a home safety checklist and a family plan checklist later in this article. You can print this page and use them at home. There is no separate download or PDF to hunt for. What you see here is what you get.
How to pick
Here is a simple way to choose. Get the pamphlet if you want the full lessons and the official checklist. Add a free worksheet if your scout likes writing answers in one place. Use the checklists in this article for hands-on family work.
Most families do well with the pamphlet plus one worksheet. That covers both the learning and the writing. Whatever you pick, remember the goal is real readiness, not just filled-in blanks. The tools help you get there. Your effort and your counselor do the rest.
Tips for Working With Your Counselor
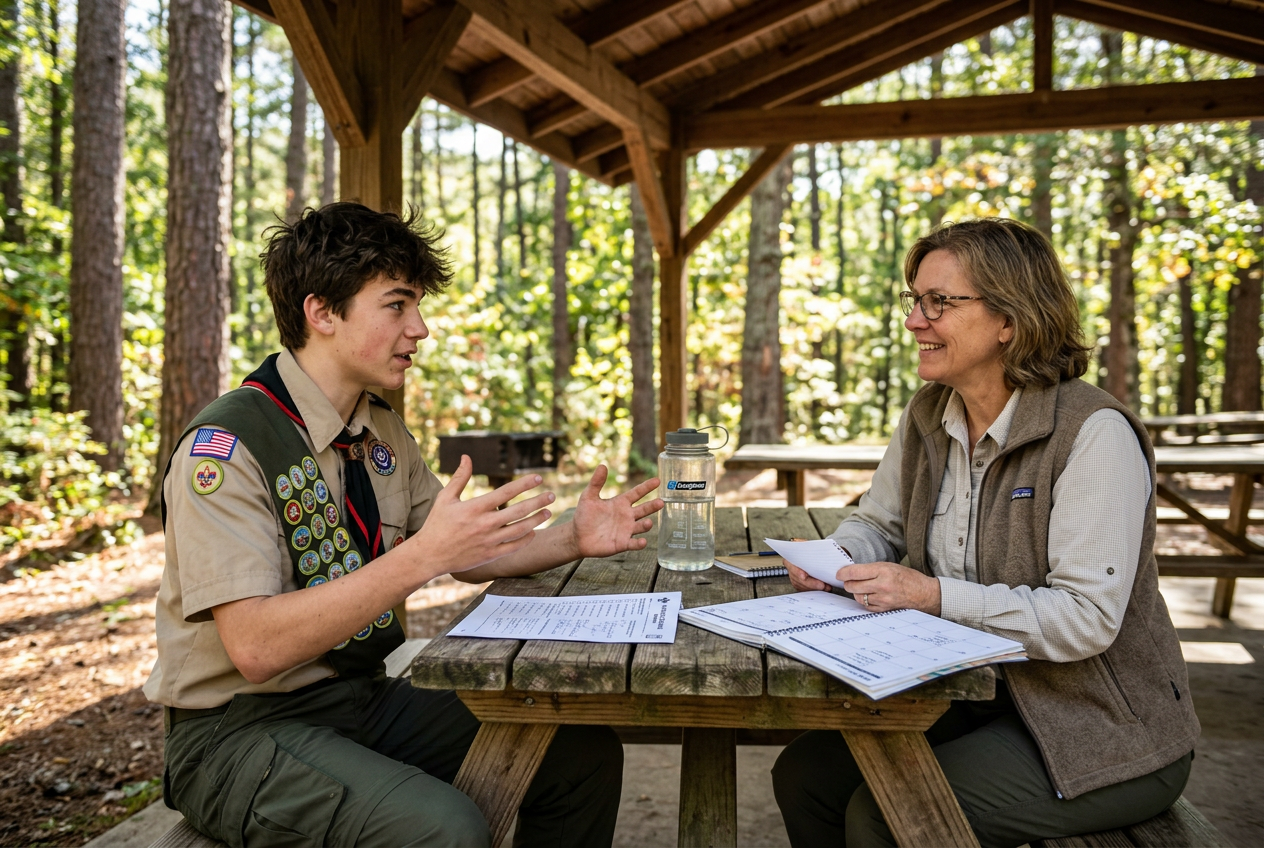
Your counselor is the person who checks your work and signs off each requirement. Working well with them makes the whole badge easier. Here are some simple tips to help you do your best.
Set Up Your Meeting Early
Reach out to your counselor before you start. Ask how they like to meet. Some meet in person. Some meet online. Ask how many sessions they expect. Many Scouts finish faster with a clear plan.
Bring a parent or another adult to the first meeting if that is your unit’s rule. Scouting has two-deep leadership rules for safety. Your counselor can tell you what is needed.
Come With Your Worksheet Filled Out
The worksheet is your study tool. It helps you organize your answers before you meet. Fill it out as much as you can on your own first. This shows your counselor you did the work.
You can use the Emergency Preparedness merit badge pamphlet to help answer many questions. The pamphlet includes the home safety checklist you need for Requirement 3. Read it before your meeting so your answers are clear and complete.
Remember, the worksheet is not the badge. Writing an answer down is only step one. Your counselor still needs to talk it through with you.
Be Ready to Show and Explain
Some requirements are not just written work. You may need to show or discuss them live. For example, you might explain your family emergency plan out loud. You might describe hazards for your home and how you would respond. You may need to walk through the home safety checklist and talk about what you found.
Your counselor may ask follow-up questions. They want to know that you really understand the material, not just that you copied it. So be ready to explain your answers in your own words. Practice saying them out loud before you meet.
If a requirement asks you to make a plan, know the parts. A good plan looks at possible hazards. It includes ways to prevent, protect from, respond to, and recover from an emergency. Be ready to talk about each part.
Prepare Honestly
Do the work for real. Do not just fill in blanks to get a signature. The point of this badge is real readiness. If you truly learn the material, you and your family will be safer.
If you do not understand something, say so. Your counselor is there to teach, not just to test. Ask questions. It is okay to not know everything at first. That is why you meet with them.
When your sign-off reflects real learning, the badge means something. You will carry these skills long after the badge is on your sash. That is the true goal of the Emergency Preparedness merit badge.
Frequently Asked Questions
Here are quick answers to the questions families ask most. Keep them handy as you work through the badge.
Does the worksheet alone earn the badge?
No. The worksheet is a study tool. It helps you organize your notes and track what you have done. But you still need to complete the real requirements and talk them over with your counselor. Your counselor approves each requirement, not the paper. Think of the worksheet as a helper, not a shortcut.
Is there an official worksheet PDF?
There are free worksheets online that list the current requirements. You can use one to plan your work. This article also lays out the key steps, and you can print this page to use as your own checklist. Always match your worksheet to the current requirements on the official Scouting America page, since requirements can change over time.
Who can be a merit badge counselor?
A merit badge counselor is an adult approved by your local council to teach a specific badge. Counselors must register with Scouting America and be approved for the badges they cover. Your Scoutmaster or troop leader can help you find one. A parent may serve as a counselor only if they are registered and approved for this badge. Ask your troop leader how to get started.
How long does the badge take?
There is no set time. Some requirements, like inspecting a home or building a family kit, can be done in an afternoon. Others take longer because you plan, do the work, and then meet with your counselor. Many Scouts finish over a few weeks. Work at a steady pace and do not rush. The goal is to learn real skills, not just check boxes.
Do I need the merit badge pamphlet?
The pamphlet is not always required, but it is very helpful. It explains each requirement in plain terms. It also includes a home safety checklist you can use for Requirement 3. Ask your counselor if they want you to use it. If you want your own copy, here it is:
Can my family help me?
Yes. Emergency preparedness works best as a family project. Building your family emergency plan and kit involves everyone in your home. Parents can help gather supplies, walk through the home safety checklist, and practice your plan. You still do the thinking and the meeting with your counselor yourself. But this badge is a great reason to get the whole household ready.
Where do I find the current requirements?
Always check the official Scouting America merit badge page for the latest version. Requirements are updated from time to time. Your counselor will use the current list, so make sure you are working from the same one. When in doubt, ask your counselor before you start a requirement. That saves you from redoing work later.
Your Merit Badge Action Checklist

Use this list to track your progress. You do not need to finish it all in one day. Check off each step as you go. Come back to it before every meeting with your counselor.
Step 1: Get the official requirements
Start with the current requirements from the Scouting America merit badge page. This is the master list. Everything you do should match it. Print the page or keep it open on a screen so you can refer back.
For deeper reading, the Emergency Preparedness merit badge pamphlet covers the topics in detail. It is not required, but it helps explain each requirement in plain terms.
Step 2: Get a worksheet to organize your work
A worksheet gives you space to write your answers and notes as you complete each requirement. Some scouting sites offer worksheet pages you can print. If you cannot find one, you can print this article and use it to track your work. The key is to write down your answers before you meet your counselor.
Step 3: Do the home safety inspection
Requirement 3 asks you to inspect a home using a safety checklist. Walk through each room with a parent or guardian. Look for hazards. Write down what you find and how you would fix it. Ask an adult to help you check things you cannot reach safely.
Step 4: Build your family emergency plan and kit
Requirement 6 covers your family plan and kit. Sit down with your family. Talk about how you would respond to different emergencies. Pick a meeting place. Choose an out of town contact. Then gather the items for your kit. This is a great family activity, and everyone learns something useful.
Step 5: Meet with your counselor
Contact your counselor early. Ask what they want to see and how they like to meet. Bring your written answers and notes. Some requirements have you pick “one of the following,” so ask which option makes sense for you. A good counselor will guide you and answer questions.
Step 6: Complete the demonstrations
Some requirements ask you to show or explain a skill, not just write about it. Practice these before your meeting. Know your first aid basics from requirements 1 and 2. Be ready to talk about hazards in your area. Practice until you feel confident.
Step 7: Review and finish
Go back through the full requirements one more time. Make sure nothing is missed. Confirm each item with your counselor. When everything is done, they sign off.
Work through this list at your own pace. Save your notes between sessions. Every step you finish brings you closer to earning the badge, and to helping your family be more ready for real emergencies.
Next Steps: Turning the Badge Into Real Readiness
Earning the badge is a great moment. But the real goal is bigger than a patch on a sash. The habits you build during this badge can keep your family safer for years. The trick is simple. Keep the plan and kit alive after the badge is signed off.
Keep Your Family Plan Fresh
Your family emergency plan is not a one-time project. People change. Phone numbers change. Kids get older and can take on new jobs during an emergency. Set a reminder to review your plan a couple of times a year. Read it out loud together. Ask each person to explain their role. If something no longer makes sense, fix it.
Practice matters too. A plan on paper only helps if everyone remembers it under stress. Walk through your meeting spots. Do a quick drill for a home fire or a power outage. These short practice runs turn knowledge into action.
Maintain Your Emergency Kit
A kit that sits in a closet can quietly go out of date. Check it a few times each year. Look for these things:
- Water that is still fresh
- Food that has not passed its date
- Batteries that still hold a charge
- Flashlights that turn on
- Any medicine that needs to be swapped out
Rotate older items into normal use before they expire. Then replace them. This keeps your supplies ready and saves waste.
Use the Pamphlet as a Long-Term Reference
Do not put the merit badge pamphlet away for good. It is a solid reference guide even after you finish. The checklists and safety tips inside stay useful long after the badge is earned.
Explore More Preparedness Basics
The badge gives your family a strong start. If you are new to this, keep learning. ReadyGuidance has beginner guides that cover home preparedness step by step. We also have family-plan resources that go deeper into building a plan everyone can follow. These pair well with what you learned here. They help the whole household, not just the Scout.
Your Clear Next Step
Ready to begin? Here is what to do today.
First, start the worksheet. Print this page or the requirements you are working on. Fill in what you already know. Mark the parts that need more work.
Second, reach out to your counselor. Send a message or make a call to schedule your first talk. Ask what they want you to bring. Ask any questions early so you do not get stuck later.
Do those two things this week and you will build real momentum. The badge is the beginning. A prepared family is the reward that lasts.