Ready
Ready
Home Inventory for Insurance and Privacy: A Beginner's Guide (2026)
Picture this. A pipe bursts while you are away. Water ruins your living room and soaks the boxes in your closet. Your insurance company asks a simple question: What did you lose? Could you list every item from memory? Most people cannot.
That is why a home inventory matters. A home inventory is just a list of the things you own. It includes photos, short descriptions, and proof of what you paid. It sounds simple, and it is. But it does real work when you need it most.
A good inventory helps in three ways. It gets your insurance claim settled faster after a fire, theft, or flood. It helps you see what you actually own, so nothing gets missed. And it helps you buy the right amount of coverage, so you are not paying too much or too little.
This guide walks you through the whole process in plain steps. You will learn how to document your home one room at a time. You will see how to capture high-value items and keep proof of their value. You will learn how to back up your list so you can reach it when disaster strikes.
We also cover privacy, which matters a lot. If you keep preparedness supplies at home, you may not want everyone seeing your list or your storage spaces. We will show you how to protect that. Let’s start small and build from there.
- Walk through every room and list your stuff, with photos or short videos of each item.
- Write down model numbers, serial numbers, and roughly when you bought each thing.
- Save two copies of your inventory, one digital backup and one on paper in a safe place.
- Store key papers like IDs, titles, and policies in a fire and water resistant safe.
- Update your inventory at least once a year, or after any big purchase.



Reviewed by Marcus T., Elena V. & Dale M. — contributors with hands-on preparedness experience. How we test
A good home inventory only helps if your records survive the emergency too. Grab the tools below, then read on to see how they fit together.
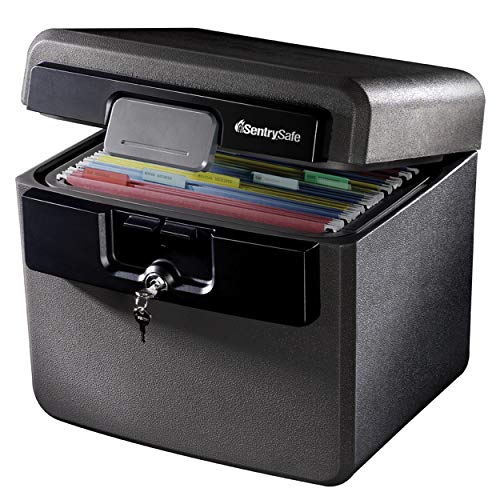
SentrySafe Fireproof Document Box
Holds your printed inventory, IDs, and insurance papers, and shields them from fire for up to 30 minutes and from water exposure. That way your records are still readable after a disaster strikes.
Check Price on Amazon
WD 2TB Portable Hard Drive
Stores your photos, videos, and digital inventory files in one small drive you can keep offsite or in your safe. It gives you a backup copy so a lost or damaged phone does not wipe out your proof.
Check Price on Amazon
SentrySafe Fire Chest with Handle
A compact chest for cash, jewelry, and documents that is UL classified for fire endurance. The carrying handle lets you grab your valuables fast if you ever need to leave in a hurry.
Check Price on AmazonIn this guide
Why Trust This Guide?
This article was researched and reviewed by contributors with hands-on experience in emergency preparedness. They have tested gear, built real systems, and lived through situations where these skills actually mattered.
What a Home Inventory Is and Why You Need One

A home inventory is a record of the things you own. It can be a written list, a set of photos, a video walk-through, or a mix of all three. For each item, you write down a short description, where you bought it, the make and model, and what you paid. You can add the serial number for big items like TVs and appliances. You keep receipts, contracts, and appraisals with the list to prove what things are worth.
That is the whole idea. You are making a clear record of your belongings before anything happens to them.
Why it matters after a fire, theft, or disaster
Picture trying to remember everything you own from memory. Most people cannot. After a fire or burglary, you may be stressed and worn out. Listing every item from scratch is hard, and it is easy to forget things.
A home inventory does that work ahead of time. When you file an insurance claim, you hand your insurer a ready list instead of guessing. This can help settle your claim faster. It also gives you proof of what you lost, which makes the whole process smoother. A good inventory can even help when you file losses on your income tax return.
The list is only useful if you can actually reach it after a disaster. We cover safe backups and storage later in this guide. For now, just know that a copy kept only in your home may burn or get stolen along with everything else.
Why it helps you avoid being underinsured
“Underinsured” means your coverage is too low to replace what you lost. This happens more than people think. You buy a policy, then years go by. You add furniture, electronics, and other items. Jewelry, art, and collectibles can rise in value over time. But your coverage stays the same.
If your policy does not cover the real value of your stuff, you pay the difference out of pocket after a loss.
A home inventory fixes this in two ways. First, it shows you how much you really own. When you see the full picture, you can check your policy limits against it. Second, it flags high-value items that may need extra coverage. Jewelry, art, and collectibles often need a separate policy add-on. While you build your list, you can call your insurance agent and ask if these items are covered. It is far better to find a gap now than after a loss.
More than an insurance tool
An inventory also helps you simply know what you own. You can spot things you forgot you had. You can catch duplicates. If you keep preparedness supplies at home, a list helps you track what you have and when to replace it. In short, a home inventory protects your money and gives you a clear view of your own home.
How to Document Your Home Room by Room
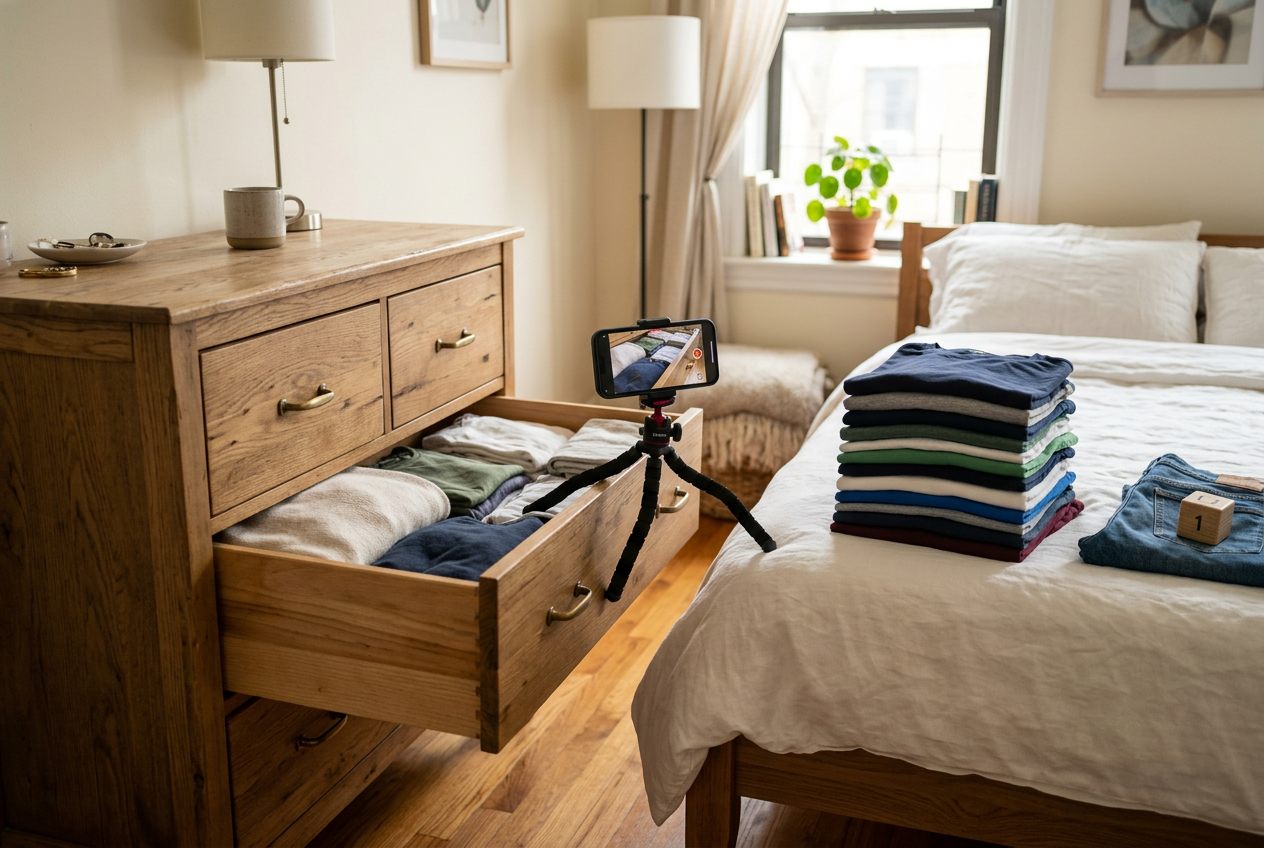
The best way to build a home inventory is to go room by room. But you do not have to do it all at once. In fact, trying to document your whole house in one day is a fast way to give up. Start small and keep going.
Pick One Small Area First
Choose a spot that is easy to finish. A single kitchen cabinet, a sock drawer, or a closet works well. A small win builds momentum. Once you finish one area, move to the next.
Another easy way to start is with recent purchases. Write down the things you just bought while the details are fresh. Then work backward to older items when you have time.
Do not feel like you have to be perfect. An incomplete inventory is far better than no inventory at all.
What to Record for Each Item
For each item, write down a few basic facts. These details make an insurance claim much easier later.
- A short description of the item
- The make and model
- The serial number if it has one
- How many you own
- What you paid, if you can remember or find a receipt
Serial numbers are usually on the back or bottom of appliances and electronics. These numbers help prove exactly what you owned.
You do not need to list every spoon and sock on its own. For clothing, count by general category instead. For example, write “5 pairs of jeans” or “3 pairs of sneakers.” Note any single clothing item that is especially valuable, like a leather coat or a designer bag.
Use Your Smartphone to Make It Fast
A pencil and paper will work fine. But your phone makes the job much easier and faster.
Take photos of your belongings. Capture whole rooms, open closets, and open drawers. Then take close-up photos of important single items. When you can, add a label or note with each photo. Include the make, model, and where you bought it.
You can also record a video walk-through. Move slowly through each room and talk as you go. Describe what you see out loud. For example, you might say the brand of your dishes, how many pieces you own, and the year you bought them. Your voice becomes part of the record, so you do not have to type everything.
Do not forget items stored outside your home. Belongings in a self-storage unit are usually covered by your homeowners insurance too. Add them to your list.
Work Through the House
Once your first area is done, move room by room. Bedrooms, the living room, the kitchen, the garage, the bathroom. Treat each space as its own small project. If you get tired, stop and come back later. The goal is steady progress, not a single marathon session.
Keep your receipts, purchase contracts, and any appraisals with your list as proof of value. We cover where to store all of this safely in a later section.
Capturing High-Value Items and Keeping Proof of Value
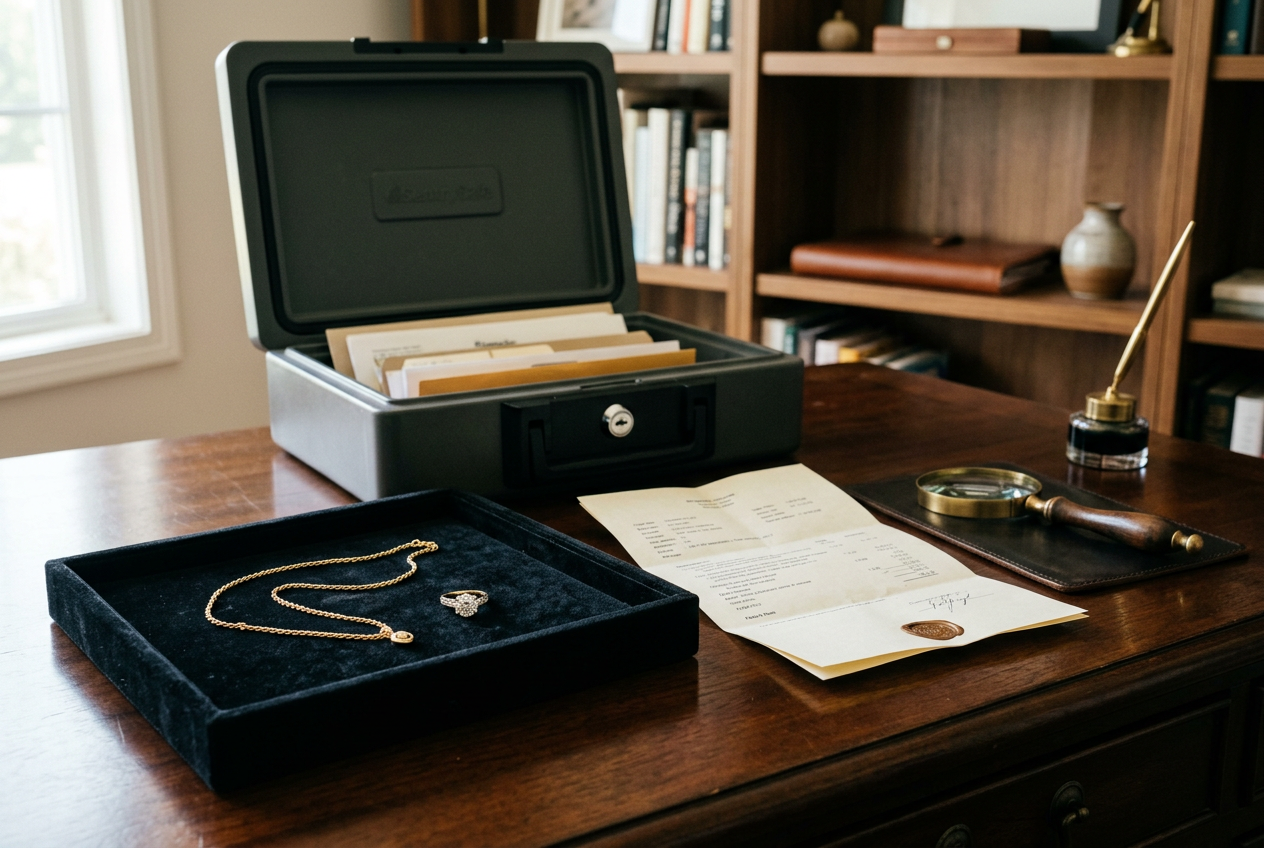
Some things you own are worth a lot more than the rest. Think jewelry, fine art, antiques, and collectibles. These items need extra care when you build your inventory. They may also need extra insurance.
Why Big-Ticket Items Need a Closer Look
A standard homeowners policy covers your belongings. But it often has special limits on certain items. Jewelry, art, and collectibles may only be covered up to a set dollar amount. If your diamond ring is worth more than that limit, you could get paid far less than it cost.
Values can also go up over time. A piece of art or a collectible may be worth more now than when you bought it. If your policy has not kept up, you may be underinsured without knowing it.
The fix is simple. Call your insurance agent before you ever have a loss. Ask about the limits on high-value items. Ask if you need separate coverage, sometimes called a rider or a floater. This adds protection for specific valuable things. It is much better to find this out now than after a fire or theft.
Keep Proof of What You Own
For your most valuable items, a photo and a description are a good start. But proof of value matters just as much. This means paper or files that show what an item is worth.
Keep these records with your inventory:
- Sales receipts
- Purchase contracts
- Appraisals from a qualified expert
For major appliances and electronics, write down the serial numbers. You usually find them on the back or bottom of the item. These numbers help your insurer confirm the exact model.
Store these records somewhere safe. If a fire destroys your home, it can destroy your receipts too. That leaves you with no proof. So you want both a digital backup and a safe spot for the paper copies.
A Fireproof Box for Physical Proof
A fireproof document box is a smart place for your paper records. It helps protect receipts, appraisals, and other important papers from fire and water. Keep your proof of value here along with other key documents.
One option is a hard-shell fireproof box with a locking case and an accordion folder inside. It has many pockets to sort receipts, cards, and papers. It is also water-resistant, which helps during floods or leaks.
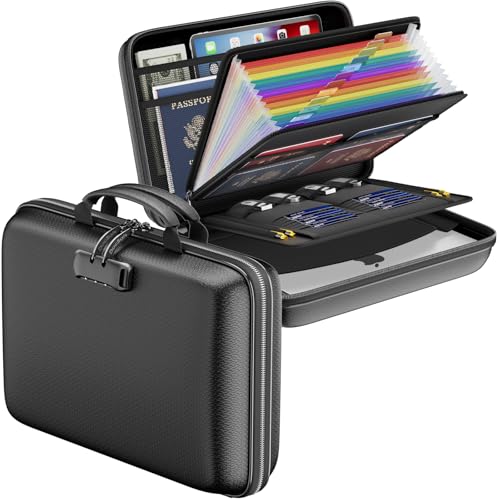
Another option is a fireproof briefcase with a hard outer shell and multiple layers inside. It holds letter-size files, cards, and USB drives. The hard shell resists dents and tears, so it stands up to rough handling and stacks easily on a shelf.

A fireproof box protects paper, but do not rely on it alone. Keep a digital backup of these same records too. That way, you have proof even if the box is lost or you cannot reach it.
Backing Up Your Inventory So You Can Actually Use It
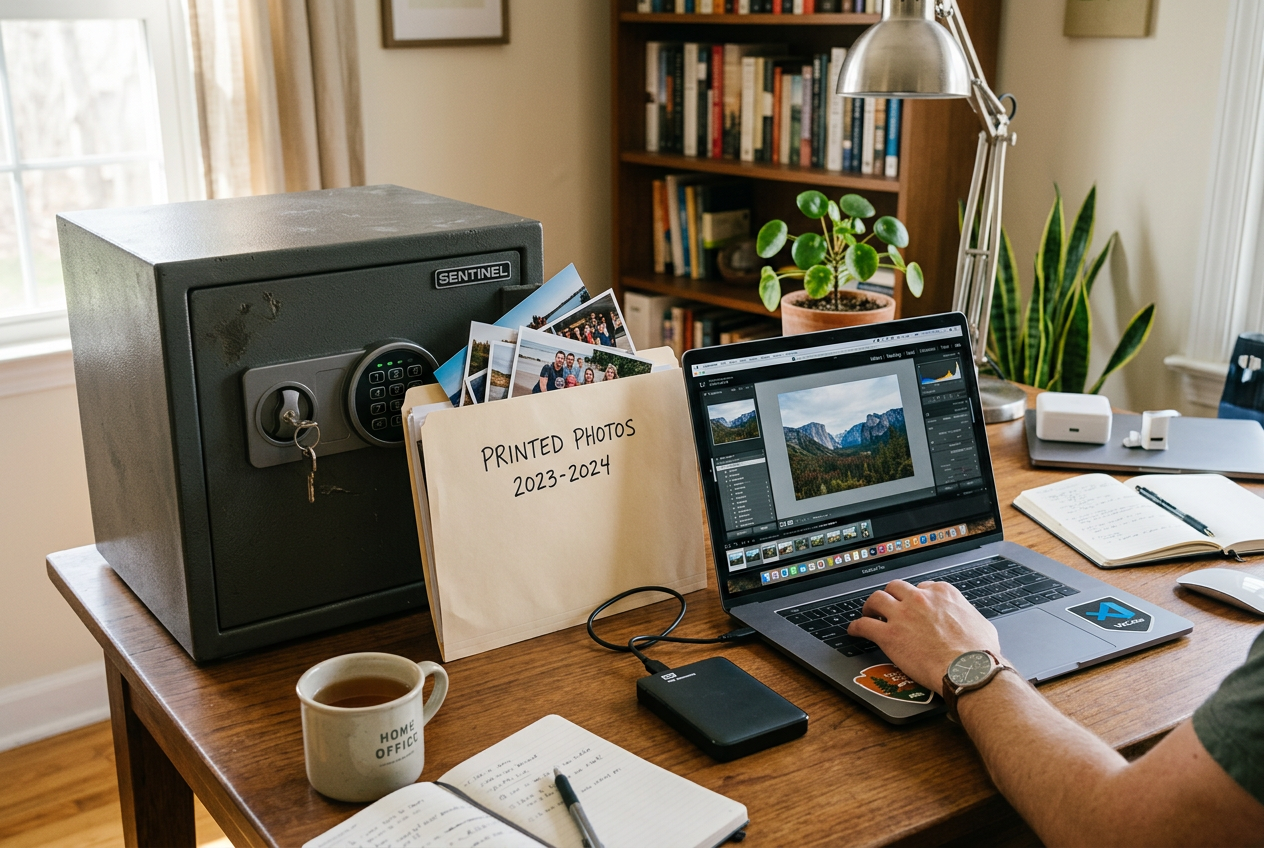
Your home inventory is only useful if you can reach it after a disaster. Think about it. If the only copy of your list burns in the same fire that destroys your stuff, that list cannot help you. So the goal is simple. Keep more than one copy, and keep them in more than one place.
A good rule is to keep both a physical copy and a digital copy. That way, if one fails, you still have the other.
Keep a physical copy safe
Print your list and gather your receipts, appraisals, and photos. Then store them where fire and water cannot ruin them. A fireproof and water-resistant safe is made for this job. Look for one that holds hanging file folders if you have a lot of paperwork like insurance records, birth certificates, and passports.
If you want something smaller and easy to carry, a compact fire-resistant chest works too. A box with a handle lets you grab it fast if you ever need to leave in a hurry. It can also hold a USB drive with your digital inventory on it.
Both of these use a key lock, so keep the keys somewhere you will remember.
Keep a digital copy too
A digital copy is easy to update and easy to share with your insurance company. Save your photos, videos, and list to an external hard drive. These drives plug into your computer and hold a lot of files.
If you want extra protection, some drives include backup software and password protection. That helps keep your files private if the drive is lost or stolen.
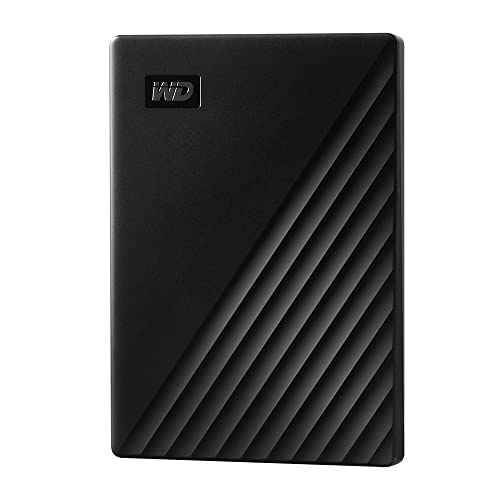
A simple drag-and-drop drive is another easy option. You just connect it and copy your files over. No special setup needed.
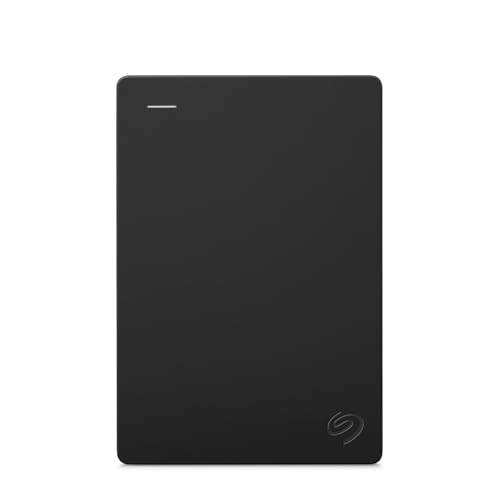
If you want faster speed and a smaller size, a portable solid state drive is a good pick. It has no moving parts, so it holds up well when you carry it around.

Store a copy off-site
Here is the most important step. Keep at least one copy away from your home. A fire or flood that hits your house should not wipe out every copy you own.
You have a few choices:
- Keep a drive at a trusted family member’s house.
- Keep a copy in a safe deposit box at your bank.
- Save your files to a cloud service with a strong password.
Cloud storage is handy because you can reach your list from your phone anywhere. Just use a password you do not use for anything else.
The best setup is layered. One physical copy in a fireproof safe at home, one digital copy on a drive, and one copy stored off-site or in the cloud. Update all of them when you add big new purchases, so your backup stays current when you need it most.
Comparing Backup and Storage Options
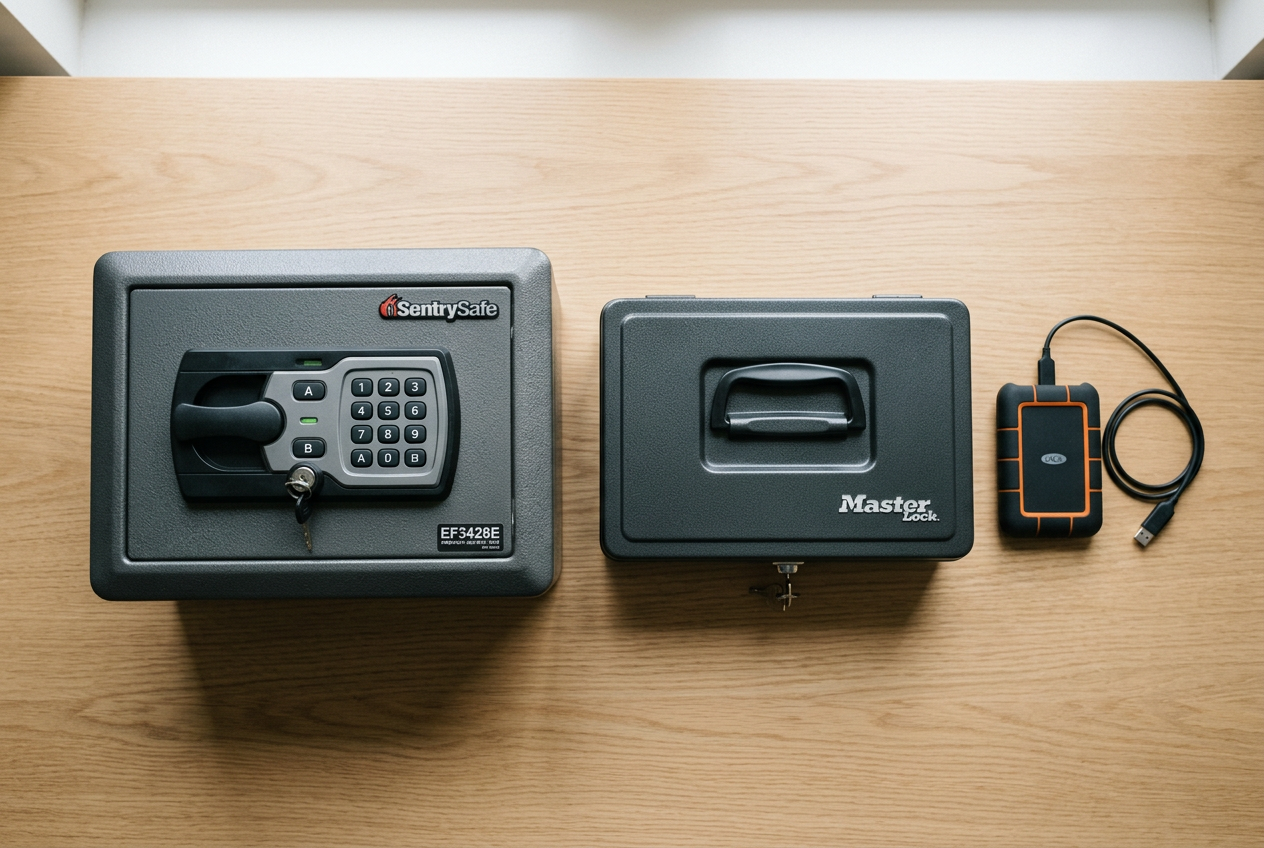
You have two jobs here. First, protect the paper copies of your inventory and proof of value. Second, protect the digital copy. Fireproof safes and document boxes handle paper. External drives hold your photos, videos, and files. Most households want one of each.
Let’s look at the main choices side by side. The table below sums up what each item protects, how much it holds, and when it fits best.
Picking a Safe or Document Box
If you want a fixed spot in your home for birth certificates, insurance records, and a printed inventory, a file safe works well. The SentrySafe HD4100 holds hanging files and locks with a key. It is rated to resist fire for up to thirty minutes and to protect contents during water exposure.
Want something you can carry out the door fast? A chest safe like the SentrySafe 1160 has a handle. Soft document boxes like the DocSafe organizer and the fireproof briefcase also travel well and sort papers into labeled pockets. These are lighter than metal safes and easier to move.
Picking a Drive
For your digital backup, any of these drives will do the job. A standard hard drive like the WD Elements or the Seagate Portable is simple. Plug it in, drag your files over, done.
Want extra protection? The WD My Passport adds password protection and backup software. If you move large video files often, a solid state drive like the SSK Portable SSD reads and writes faster and handles bumps better.
One smart move: keep a drive inside a fireproof box rated for digital media. Not every safe protects drives and discs, so check the label. The SentrySafe 1160 and the DocSafe box both note protection for USB drives and memory sticks.
The best setup is not one item. It is a mix. Keep paper safe. Keep a drive safe. And keep one more copy off-site or in the cloud.
Privacy: Who Sees Your Inventory and Your Private Spaces

A home inventory is a detailed map of what you own. That makes it useful for a claim. It also makes it sensitive. Photos and lists can show where you keep cash, medications, firearms, or emergency supplies. Treat this file like you treat your passport or bank records. Decide who sees it before you share it.
Keep the list private by default
Your inventory is for you first. You do not need to hand the whole thing to anyone until there is a reason. Store it somewhere only you and a trusted person can reach. A spouse or a grown child is a common choice. Pick someone who would act for you if you could not.
Be careful where you store copies online. If you use a cloud account, turn on a strong password and two-step login. Do not email the full list to yourself without protection. An email inbox is easy to break into.
Share only what the claim needs
Your insurance company needs proof of your loss. It does not need a full tour of every private corner of your home. When you file a claim, give the items and proof that apply to that loss. You can share more if the insurer asks. You do not have to lead with everything at once.
Be extra careful with photos of sensitive items. Pictures of firearms, safes, cash, or prescription bottles can reveal more than you want. You can list these items in words for your own records and keep the photos limited. If an item needs special coverage, ask your agent how they want it documented. Keep that exchange to the specific item.
Keep sensitive storage discreet
Many households keep preparedness supplies, medications, or valuables in one spot. Your inventory can note these items without broadcasting their location. Avoid captions that act as a treasure map, like “cash in bedroom closet, top shelf.” Record what you need to prove value. Skip the step-by-step directions a stranger could use.
The same goes for walk-through videos. A wide video of a room is fine. A long clip that lingers on your safe or gun storage is not something you want floating around. Film what helps a claim, then stop.
Delete old files you no longer need
Old inventories pile up. Old photos of a house you sold or items you gave away no longer help you. They just sit there as a privacy risk. Review your files once a year. Delete versions you do not need. If you print pages, shred the old ones instead of tossing them in the trash.
The goal is simple. Keep your inventory complete enough to help you. Keep it private enough that it only helps you, and no one else.
DIY or Hire Help: Professional Organizers and What to Ask

You do not have to hire anyone to make a home inventory. Most people can do it themselves. All you really need is a phone to take photos, a simple list, and a safe place to store it. Start in one small spot, like a closet or a single cabinet. Then move on when you have time. A do-it-yourself inventory costs nothing and keeps your private details in your own hands.
Doing it yourself has real upsides. You control who sees your belongings. You decide what to photograph and what to leave out. And you learn exactly what you own along the way, which helps if you ever file a claim.
When Hiring Help Makes Sense
Sometimes the job feels too big to face alone. Maybe you have years of stored items, or you are moving, or you just feel stuck. A professional home organizer can help you sort, label, and arrange your things room by room. That same process makes it much easier to build an inventory. Once a space is organized, you can photograph and list what is there in far less time.
Keep in mind that an organizer’s main job is organizing, not insurance paperwork. Do not assume a company handles your insurance inventory unless it says so. You may still need to take the photos and build the list yourself, or ask the organizer to help as part of the work.
What to Confirm Before You Let Anyone In
Letting someone into your home means they will see your private spaces and belongings. Ask a few plain questions before you book. Any good company will answer without fuss.
- Are team members background-checked? You want to know who is coming into your home.
- Is the company insured? If something gets damaged, insurance protects you both.
- Will they sign an NDA? An NDA, or non-disclosure agreement, is a signed promise to keep your information private. This matters if you have valuables, sensitive documents, or preparedness supplies you would rather keep quiet.
- Who sees the photos and lists? Ask how they store any records of your home and whether they delete them when the job is done.
As an example, Simply Luxe is a home organizing company that says its services are fully insured and confidential, with team members who are vetted, background-checked, and used to working under NDAs. Those are the kinds of terms you want to confirm with any company you consider.
A Middle Path
You can also mix both approaches. Hire help to organize the hard rooms, then do the inventory yourself once everything is in order. That keeps costs down and keeps your final list and photos in your own control. Whatever you choose, the goal is the same. End up with an accurate record you can actually use when you need it.
Your Home Inventory Action Checklist
Here is a simple plan you can follow. Work through it one step at a time. You do not have to finish in one day. An incomplete list is better than no list at all. Want a paper copy? Just print this page.
Step 1: Pick an easy place to start
Start small. Choose one contained area, like a kitchen cabinet, a closet, or one shelf. A small win helps you keep going. You can also start with your most recent purchases, then work back to older items later.
Step 2: Photograph and describe each item
Take clear photos of your things. Snap wide shots of a whole room or drawer, then close-ups of single items. For each item, write a short description. Note where you bought it, the make and model, and about when you got it.
For clothing, count by group. For example, “5 pairs of jeans, 3 pairs of sneakers.” Make a special note of anything valuable.
Step 3: Record serial numbers and values
Big appliances and electronics usually have a serial number on the back or bottom. Write these down. They help prove what you owned. Note what you paid for each item too, if you can.
Step 4: Keep proof of value
Save receipts, purchase contracts, and appraisals. Store them with your list. For jewelry, art, and collectibles, an appraisal is helpful because these items can rise in value over time.
Step 5: Make physical and digital backups
Your inventory only helps if you can reach it after a fire, flood, or theft. Keep more than one copy.
- Save a digital copy to the cloud or an external drive like the WD Elements portable hard drive.
- Keep a copy away from your home, such as with a trusted family member.
- Store paper proof and a backup drive in a fireproof, waterproof box like the SentrySafe document box.
Step 6: Check your policy limits
Call your insurance agent. Ask if your coverage matches what you actually own. Some big-ticket items, like jewelry, art, and collectibles, may need special coverage added to your standard policy. Do this before any loss, not after.
Step 7: Do not forget off-site items
Things in a storage unit are often covered by your home policy too. Add them to your list.
Step 8: Keep it up to date
When you buy something significant, add it right away while the details are fresh. Snap a photo and save the receipt. Set a reminder to review your whole inventory once a year.
Step 9: Protect your privacy
Before you share photos or your list with anyone, think about who sees them. Keep sensitive files password protected. Share only what your insurance claim needs, and nothing more.
Follow these steps in order and you will build a solid record of what you own. Start with one small area today.
Frequently Asked Questions
How detailed does my home inventory need to be?
It depends on the item. For most things, a short note is fine. You can count clothing by group, like “5 pairs of jeans” or “3 pairs of sneakers.” But big items need more care. For electronics and appliances, write down the make, model, and serial number. Note where you bought each item and what you paid. Save receipts, contracts, and appraisals when you have them. These details help your insurance company settle your claim faster.
How often should I update my inventory?
Update it whenever you buy something worth noting. Add the item details and receipt while the facts are fresh in your mind. This is easier than trying to remember later. A good habit is to log new purchases right away. You should also do a full review once a year. Values can change over time, so this keeps your list accurate.
Should I include items kept in self-storage?
Yes. Belongings in a self-storage unit are often covered by your homeowners insurance. Do not leave them off your list just because they are not in your house. Walk through your unit the same way you walk through a room. Take photos and note what is there. If you are not sure about your coverage, ask your agent.
What if I have years of belongings and the task feels huge?
Do not try to do it all at once. Pick one small, contained spot to start. A single cabinet, a closet, or one shelf works well. Another easy way is to list your recent purchases first. Then go back and tackle your older items over time. An incomplete inventory is far better than none at all. Keep going even if you cannot finish in one sitting.
How do I protect my privacy when I share my inventory with an insurer?
Share only what the claim requires. When you file a claim, your insurer may ask for photos, lists, and proof of value for the items you lost. You do not have to hand over a full tour of every private space. Think about what parts of your home you want to keep out of shared photos. You can keep a separate, private record for your own use and share only the parts tied to a claim. Ask your insurer how they store your files and who can see them. Keep your master copy backed up and in a safe place that you control.
Can I just print this page to use as my checklist?
Yes. There is no separate file to download. You can print this page and use the action checklist to work through your home. Keep your printed notes with your receipts and photos, and back up a digital copy so you can reach it if your home is damaged.
Next Steps: Start Small and Keep Going
The hardest part of a home inventory is starting. Do not let the whole house stop you. You do not need to document every room this weekend. An incomplete list still beats having nothing at all.
So pick one small spot today. Just one. A single drawer, a closet, or one shelf. The kitchen cabinet with your small appliances is a great choice. So is the drawer where you keep electronics and chargers. A contained space feels easy to finish, and finishing one spot makes you want to do the next.
Do This in the Next Hour
Here is a simple way to begin right now.
- Pick one drawer, shelf, or closet.
- Open your phone camera.
- Take a wide photo of the whole space.
- Take close photos of anything valuable.
- Snap a picture of serial numbers and labels.
- Jot down the make, model, and where you bought it.
That is a real start. You now have proof you did not have an hour ago.
Another easy way in is to list your recent purchases. The details are still fresh in your mind. You may even have the receipts saved in your email. Add those items, then work backward to older things when you have time.
Make Your First Backup
A list only helps if you can reach it after a fire, flood, or theft. So back it up today, not later.
Save your photos and notes to a cloud account first. That keeps a copy off-site, away from your home. Then make a second copy on a portable drive so you are not tied to one service. A simple plug-and-play drive like the WD Elements portable hard drive works for most households.
Keep your paper proof safe too. Store receipts, appraisals, and a printed copy of your list in a fireproof, waterproof box. A document safe such as the SentrySafe fireproof document box protects those papers during common home emergencies.
Keep It Up to Date
Your inventory can go stale fast. New TVs, new furniture, and new jewelry all need to be added. The best trick is to make updating a habit.
Set a phone reminder for every few months. Also add a rule for yourself: after any big purchase, log the item and save the receipt that same week. It takes two minutes while the details are fresh.
Once or twice a year, read your list next to your insurance policy. Check that your coverage still matches what you own. If you bought something valuable, like art or a ring, ask your agent whether it needs separate coverage before a loss ever happens.
You do not have to be perfect. You just have to begin. Document one drawer today, back it up, and keep going from there.
Sources and Further Reading
- Home Inventory Guide
- Tips on Creating a Home Inventory Checklist for Insurance
- A home inventory: Why you need it and how to do it
- Best practices to create a home inventory for peace of mind
- How to Create a Home Inventory With Tips
- www.iii.org