Ready
The 10 Most Important Items in a Home Emergency Kit (and Why Each One Matters) 2026
The power goes out. The storm knocks down the lines. The store shelves empty fast. In moments like these, you want to know you are ready. But where do you start?
That question stops a lot of people. Emergency kit lists can feel long and confusing. Some read like they were written for survival experts. You do not need to be an expert. You just need the right basics, in the right order.
This guide covers the 10 most important items for a basic home emergency kit. We put them in priority order, from most important to least. Water comes first. The other items follow based on what keeps you safe and comfortable when normal life stops for a short time.
We also explain the reasoning behind each choice. You will learn not just what to pack, but why it matters. That way, you can make smart swaps if you need to.
This is written for an ordinary household. Think power outages, storms, or short disruptions that last a few days. You do not need to prepare for the end of the world. You just need enough to get through until help arrives or the lights come back on.
By the end, you will have a clear list and a simple plan. Let’s start with the item that matters most: water.
- Build a kit that can support everyone in your home for at least 72 hours.
- Store about 1 gallon of water per person per day, or keep sealed water pouches ready to grab.
- Pack high calorie emergency food bars so each person gets around 2,400 calories a day.
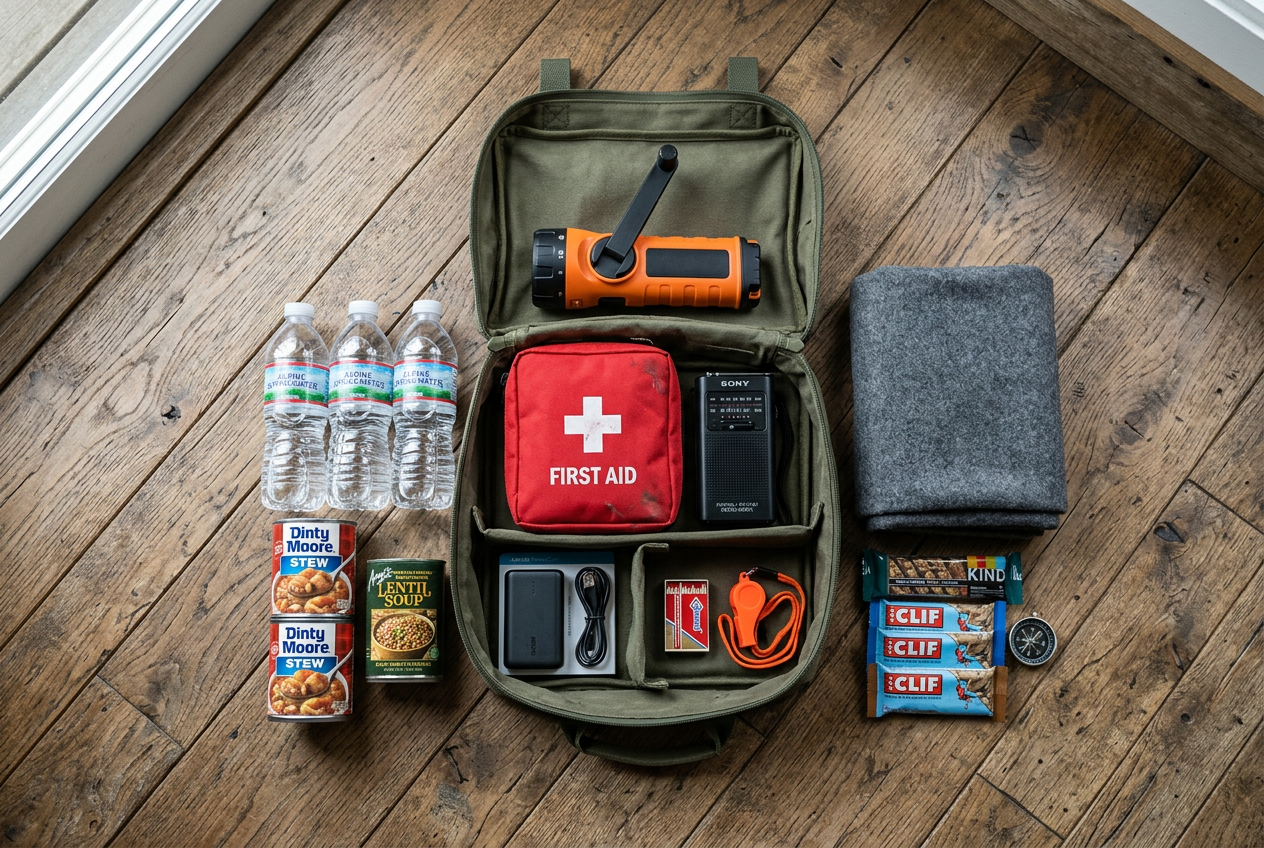
- Include first aid supplies, lighting, warmth, and basic tools in one easy to carry bag.
- Keep everything in a grab and go backpack so you can leave fast if you need to.
One practical preparedness move each week. No fear-mongering, ever.



Reviewed by Marcus T., Beth O. & Dale M. — contributors with hands-on preparedness experience. How we test
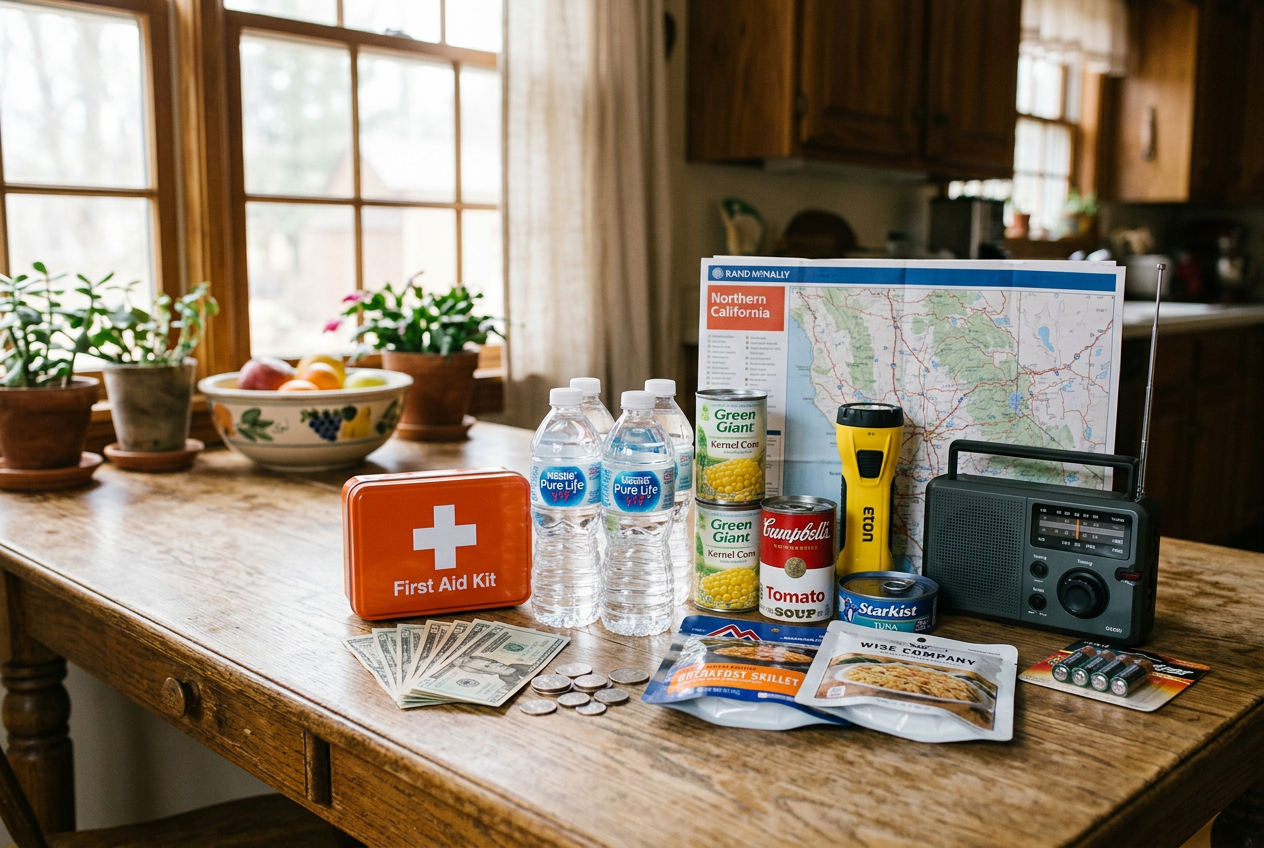
Getting ready for an emergency starts with having the right gear on hand. Grab these items now, then keep reading to learn why each one earns a spot in your kit.

Ready America 2-Person Survival Kit
This backpack holds food, water, first aid, and other basics to support two people for three days. It gives you a ready to grab starting point so you are not scrambling when an emergency hits.
Check Price on Amazon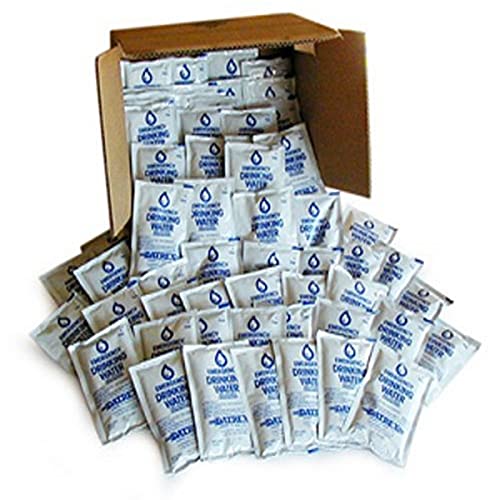
Datrex Emergency Water Pouches
These sealed 125ml pouches give you clean drinking water in small, easy to hand out portions. Because each one is individual, you waste less and can store them in tight spaces.
Check Price on Amazon
Ready America Deluxe 2-Person Kit
This upgraded backpack adds tools, blankets, lighting, hygiene items, and water purification on top of food and first aid. It covers more of your needs for shelter and safety during a three day emergency.
Check Price on AmazonIn this guide
Why Trust This Guide?
This article was researched and reviewed by contributors with hands-on experience in emergency preparedness. They have tested gear, built real systems, and lived through situations where these skills actually mattered.
1. Water: Your Top Priority
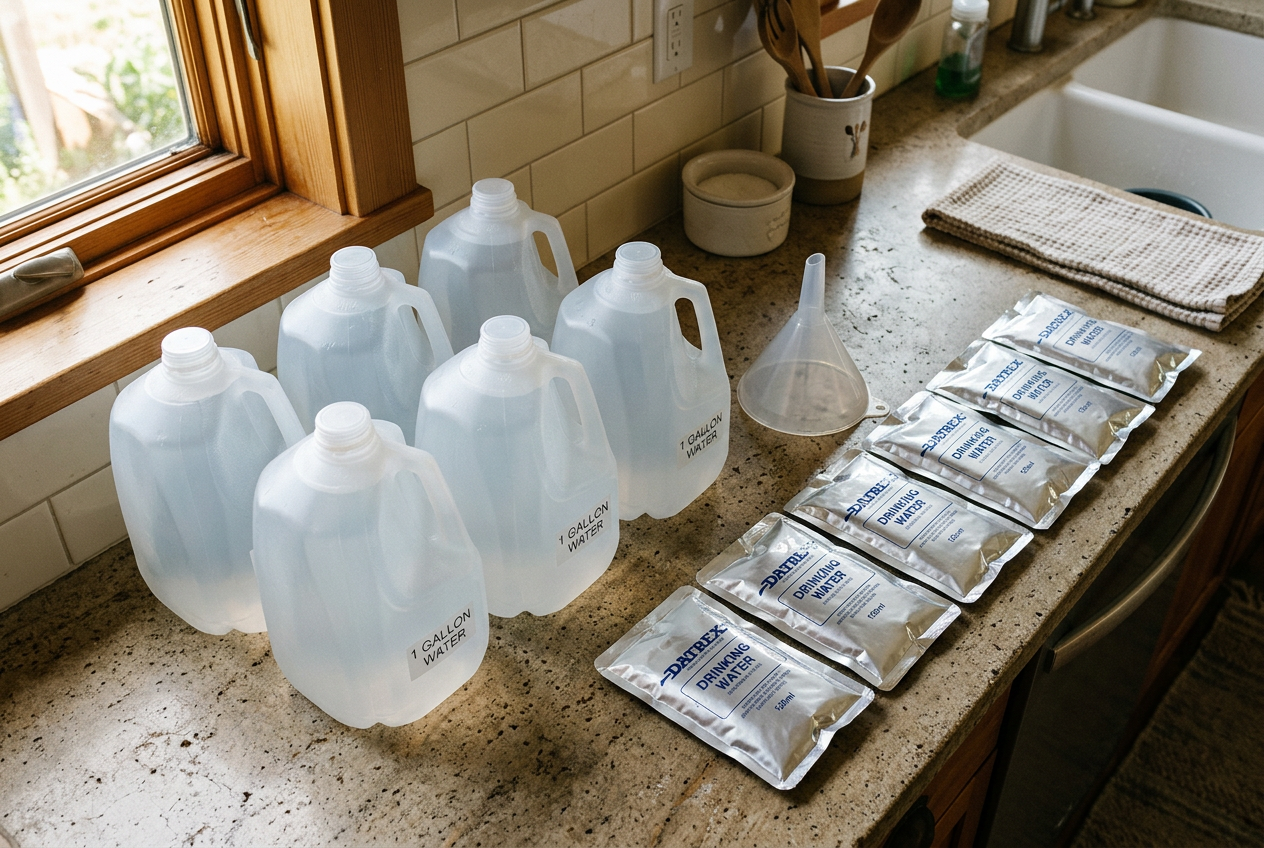
Water comes first for a simple reason. You can live only a few days without it. Food, light, and tools all matter, but none of them keep you alive like water does. If you build just one part of your kit today, make it this one.
How Much Water You Need
The common guideline is one gallon per person per day. Plan for at least three days. So a family of four needs at least 12 gallons for three days.
That gallon is not only for drinking. You also use water to brush your teeth, wash your hands, and clean small wounds. If you have pets, add water for them too. If you can store more than three days’ worth, that is even better.
How to Store Tap Water Safely
You do not have to buy water to get started. You can store clean tap water at home for free.
Use clean containers made for food or drinking water. Many stores sell sturdy water jugs for this. Wash the container well before you fill it. Fill it all the way to the top and seal it tight. Label each container with the date you filled it.
Keep your water in a cool, dark place. Light and heat can break down plastic over time. Check your stored water now and then. If it looks cloudy or smells odd, pour it out and refill with fresh tap water.
Avoid reusing old milk jugs or juice bottles. They are hard to clean fully, and leftover sugars can grow bacteria.
When Pre-Sealed Emergency Water Makes Sense
Stored tap water works great at home. But it is heavy and bulky. That is a problem if you need to grab your kit and leave fast.
This is where sealed emergency water pouches help. They come in small, pre-measured packets. They are light, compact, and easy to pack in a bag or car. Many have a long shelf life, so you do not have to swap them out often.
These pouches are a smart choice for a grab-and-go bag or for long-term storage you want to set and forget.
According to the manufacturer, the Datrex pouches above come in small individually sealed sachets. That means if one tears, you lose only that packet, not your whole supply.

According to the product listing, this S.O.S option offers a larger count of packets and a long stated shelf life. Check the current listing for exact figures before you buy. That makes it handy for a kit you plan to store and check rarely.
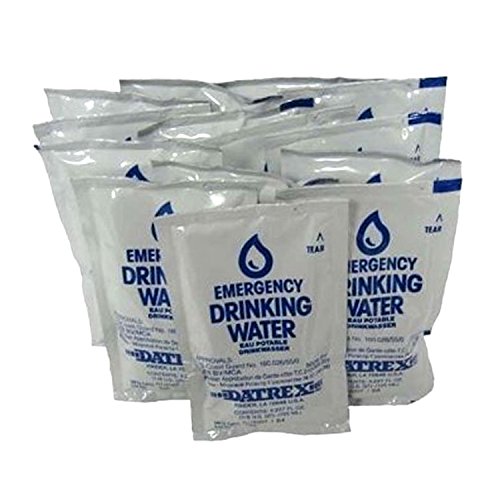
This Datrex set is marketed as a three-day, 72-hour supply for one person. Keep in mind that pre-measured water pouches like these provide far less than the one gallon per person per day standard, so do not rely on them alone as a full three-day water supply. They work best as a compact backup in a go-bag alongside stored tap water.
Start with stored tap water at home. Add sealed pouches to your grab-and-go bag or car. Together, they cover you whether you stay put or leave in a hurry.
2. Non-Perishable Food: Easy-to-Prepare Calories
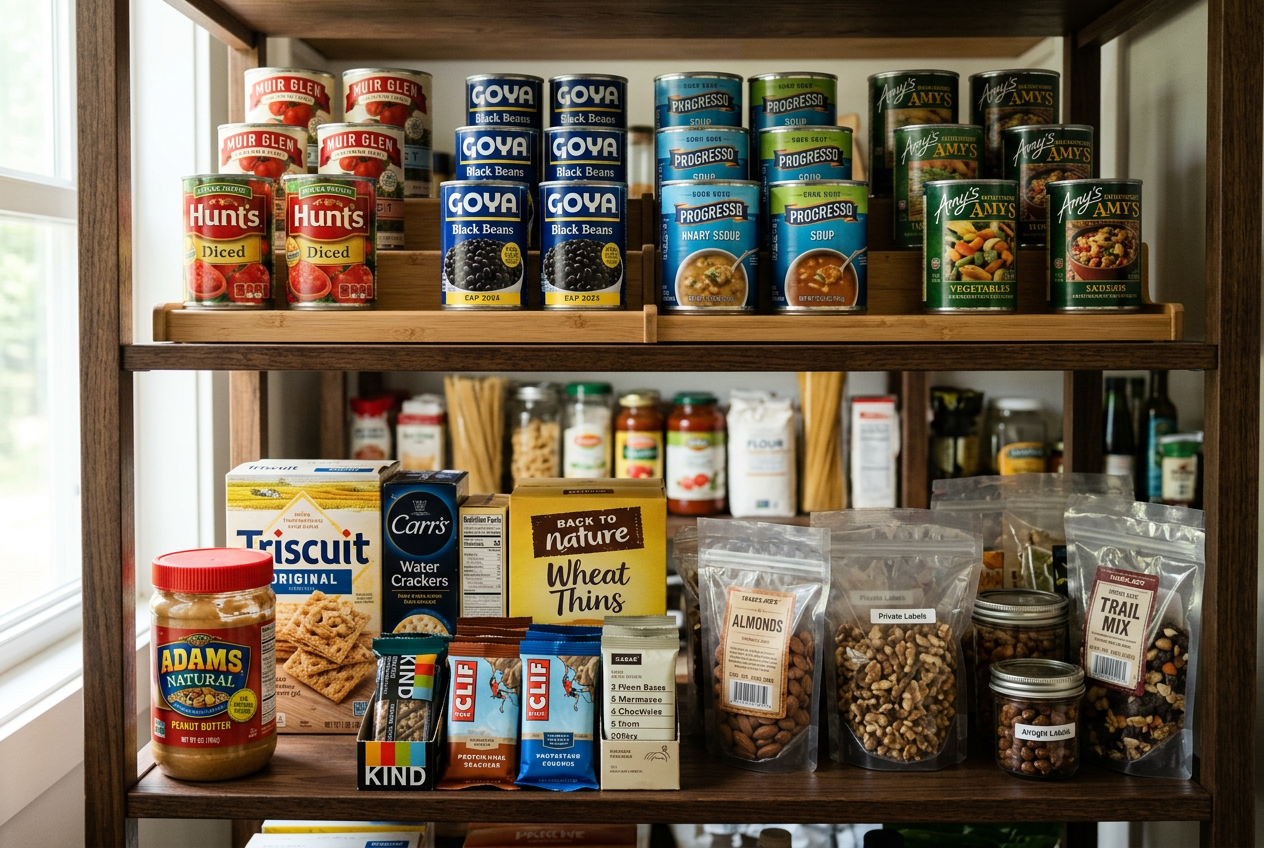
After water, food is your next priority. In an emergency, the power may go out. You may not be able to cook. So your kit needs food that needs little or no cooking.
Aim for a 3-day supply for each person in your home. Pick foods that are easy to prepare and easy to eat. You want simple calories that keep your energy up when things are hard.
Good Foods to Store
Here are foods that store well and need little work:
- Canned fruits and vegetables
- Canned or dehydrated meats
- Protein bars
- Peanut butter
- Nuts and crackers
- Granola and cereal
- Dried fruit
These items last a long time on the shelf. Most need no heat at all. Just open and eat. Peanut butter, nuts, and protein bars pack a lot of calories into a small space. That makes them great for a kit.
Do not forget a can opener. A manual one is best. It works even when the power is out. Many cans have pull tabs, but not all. A small can opener in your kit saves you a lot of trouble.
Choose Food Your Household Will Actually Eat
This tip matters more than people think. An emergency is stressful. Familiar food helps you feel calmer. So store things your family already likes.
If your kids love a certain cracker or bar, put those in the kit. If someone in your home cannot eat certain foods, plan around that. Keep in mind any allergies or special diets. Also think about young children, older adults, or anyone with health needs.
The goal is simple. When you open your kit, you want food you will actually eat. Food you hate does you no good.
Rotate Your Food So It Stays Fresh
Stored food does not last forever. Over time it goes stale or expires. So you need to rotate it.
Here is an easy way to do this:
- Write the date on each item when you add it to your kit.
- Check the dates a few times a year.
- Eat food before it expires, then replace it with fresh items.
A good trick is to check your kit when you change your clocks or at the start of a new season. Pick a time you will remember. This keeps your food safe to eat and ready when you need it.
A Shortcut for Food
If you want a fast start, a pre-built kit can help. Some kits include long-lasting emergency food bars. For example, the manufacturer’s listing for the Ready America 2-Person 3-Day kit states it includes emergency food bars for two people. According to the maker, these bars are made to store for a long time and need no cooking. We have not independently verified these specs.
Still, it helps to add some of your own favorite foods. That way your kit has both long-life bars and food your family enjoys.
3. Light: Flashlight and Extra Batteries
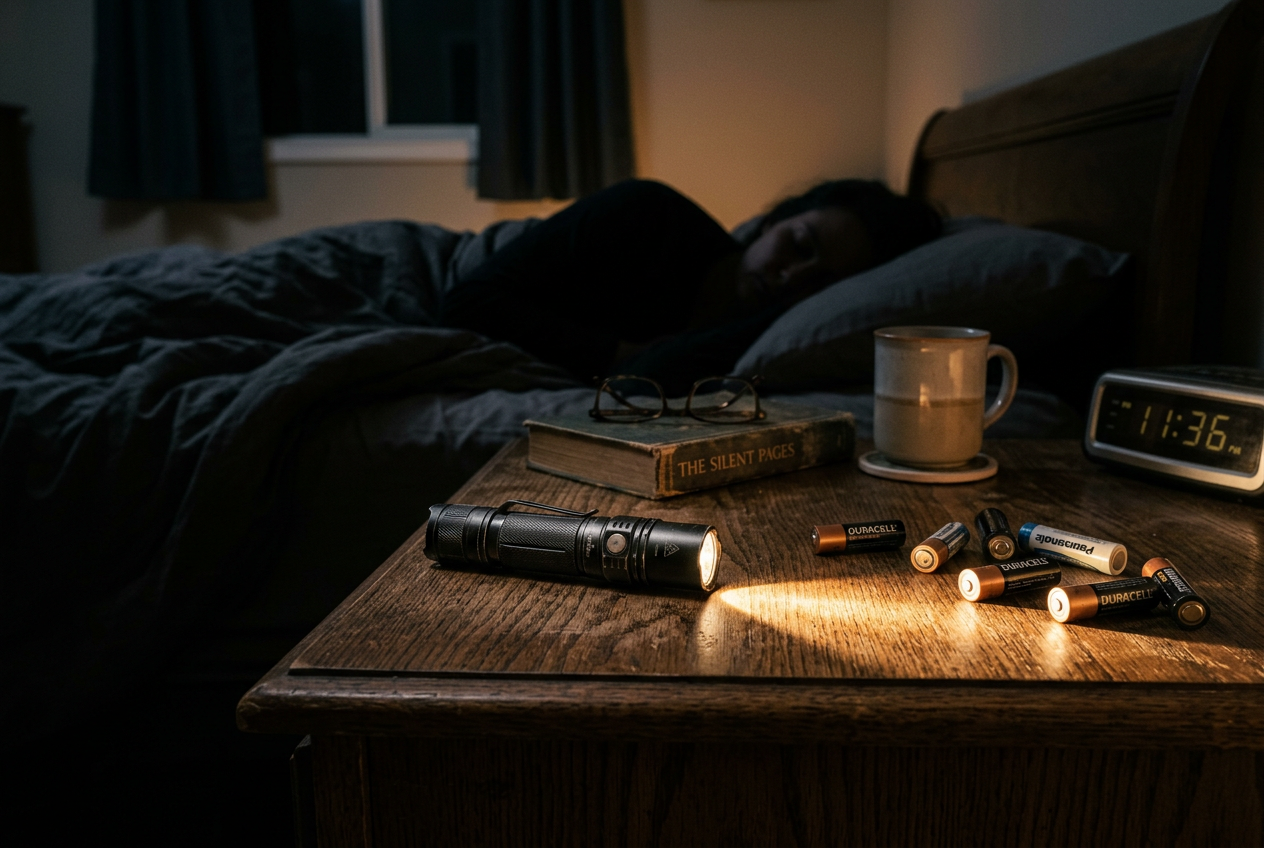
When the power goes out, your home gets dark fast. A good flashlight helps you move around without tripping or getting hurt. It lets you check on family members. It lets you find other items in your kit. Light is one of the first things you will reach for in an emergency, so it belongs near the top of your list.
Why a Flashlight Beats Candles
Many people grab candles during a blackout. That feels natural, but it is not the safest choice. A candle has an open flame. If it tips over, it can start a fire. It can also burn a child or pet that gets too close. In the dark, it is easy to knock things over.
A flashlight does not have an open flame. It will not set anything on fire. You can carry it from room to room with no worry. You can hand it to a child. You can set it down and walk away. For indoor use, a flashlight is the smarter and safer pick.
Keep Spare Batteries Ready
A flashlight is only useful if it turns on. Batteries drain over time, even when you are not using them. So keep a fresh set of spare batteries with your kit at all times.
Here are a few simple tips:
- Buy the battery size your flashlight actually uses. Check the label.
- Store the spare batteries in the same bag or box as the flashlight.
- Check them a couple of times a year. Replace any that look old or leaky.
- Think about a hand-crank or rechargeable flashlight as a backup. You crank it by hand, so it works even when your batteries die.
Having a backup light source is smart. One flashlight can fail or get lost. A second light gives you peace of mind.
Store Lights Where You Can Find Them
The best flashlight in the world is useless if you cannot reach it in the dark. Think about where you will be when the power cuts out. You might be in bed. You might be in the kitchen. You might be heading down a hallway.
Keep a flashlight in a spot you can find by feel. A nightstand drawer works well. So does a kitchen drawer or a hook by the door. Pick a few key spots around your home. Then tell everyone in your household where the lights are kept.
Many ready-made kits include basic lighting along with other key gear. The Ready America 70285 Deluxe backpack bundles lighting with food, water, and first aid supplies. That can be a simple way to cover the basics in one go.
The goal is simple. When the lights go out, you reach for a flashlight, not a match.
4. First Aid Kit and Personal Medications
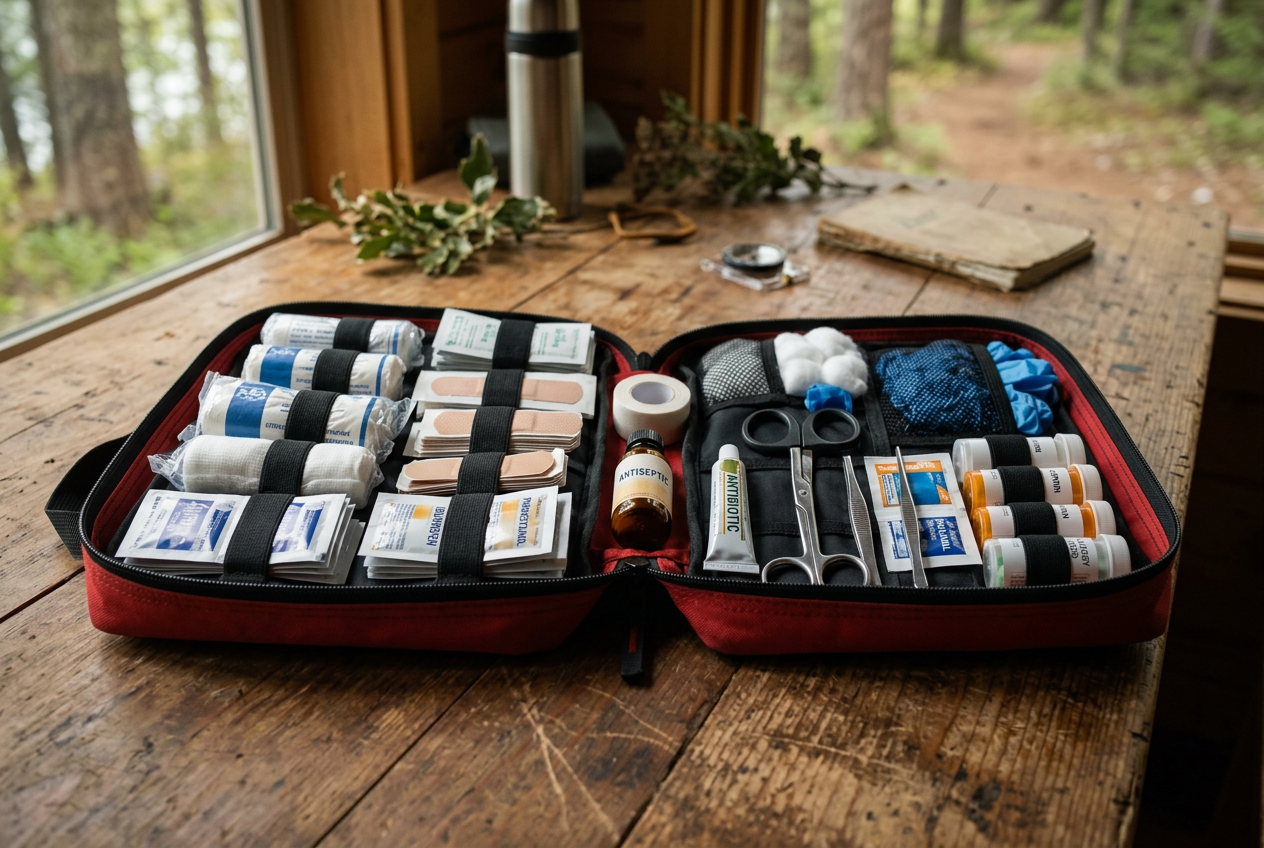
In an emergency, help may not come right away. Roads can be blocked. Phone lines can be busy. You may need to care for small injuries on your own for a while. A basic first aid kit helps you do that.
Why a First Aid Kit Matters
Everyday problems still happen during a disaster. People get cuts, scrapes, and minor burns. Someone might get a blister or a small wound from broken glass. A good kit lets you clean and cover these injuries fast. That lowers the chance of infection while you wait for help.
A basic home first aid kit should include:
- Bandages in a few sizes
- Gauze pads and medical tape
- Antiseptic wipes to clean wounds
- Antibiotic ointment
- Tweezers and small scissors
- Pain relievers like acetaminophen or ibuprofen
- A pair of nitrile gloves to keep things clean
Many ready-made emergency kits come with a first aid kit built in. For example, the Ready America 70280 two-person kit includes a 33-piece first aid kit along with dust masks and nitrile gloves. That is a simple way to cover the basics if you do not want to build a kit from scratch.
Keep a Few Days of Your Medicine
If you or someone in your home takes prescription medicine, plan for that too. A disaster can close pharmacies. You may not be able to refill a prescription for days. Try to keep a few days of each medicine on hand. This matters most for medicines people need every day, like heart pills, insulin, or asthma inhalers.
Talk to your doctor or pharmacist about how to build up a small backup supply. Some medicines need to stay cool, so ask how to store them safely. Rotate the supply so it does not expire. Also keep a short list of each person’s medicines and doses. That helps if you need to tell a doctor what you take.
Do not forget everyday health items either. Pack extra glasses or contact lens supplies. Add any over-the-counter medicine your family uses often.
First Aid Has Limits
A first aid kit is for minor care. It helps with small cuts, burns, and aches. It is not a fix for serious problems. Deep wounds, broken bones, chest pain, trouble breathing, and heavy bleeding all need real medical help.
If someone is badly hurt, call for emergency help and follow the directions you are given. Do what you can to keep the person calm and comfortable until help arrives. Knowing the limits of your kit is just as important as having one. The goal is to handle the small stuff yourself and get professional care for anything serious.
A simple first aid class from a group like your local Red Cross chapter can teach you the basics. That knowledge works even when supplies run low.
5. Hygiene and Sanitation Supplies
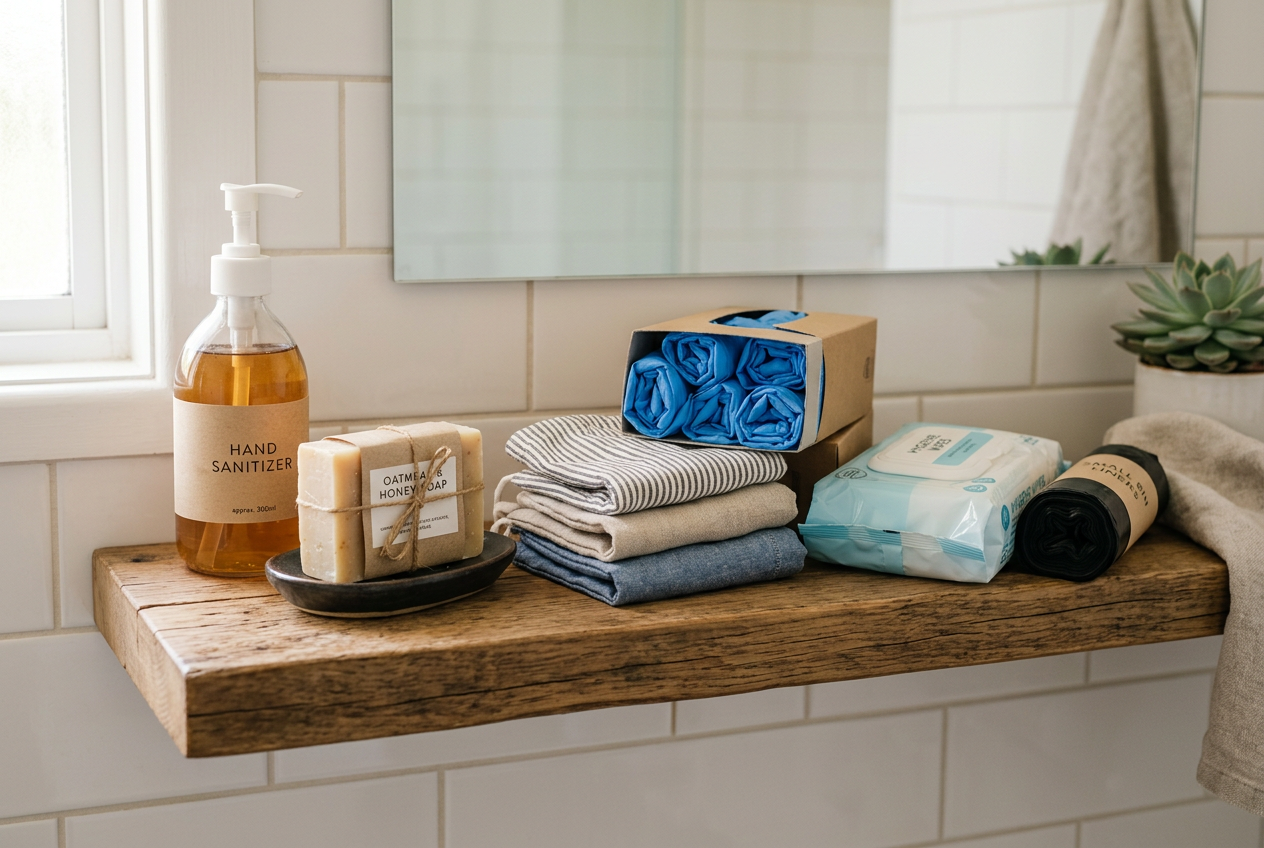
When an emergency hits, staying clean is not just about comfort. It is about staying healthy. If the power goes out or your water stops running, germs spread fast. Dirty hands can lead to stomach bugs and other illnesses. Getting sick during an emergency makes everything harder. That is why hygiene supplies belong in your kit.
What Preparedness Guidance Recommends
Emergency preparedness guidance suggests you pack some basic cleaning items in both your home and car kits. These include:
- Hand sanitizer
- Hand soap
- Gloves
- Face coverings
These items are simple, but they do a lot. Hand soap and hand sanitizer help you clean your hands when water is low. Gloves protect your hands when you clean up messes or help someone who is hurt. Face coverings help protect you from dust and debris in the air. General preparedness guidance suggests including these basic cleaning items in your home kit.
Why Clean Hands Matter So Much
Think about how often you touch your face each day. Now imagine your hands are dirty and there is no running water to wash them. Germs move from your hands to your mouth, nose, and eyes. This is one of the fastest ways people get sick.
Washing with soap and water is best. But if water is scarce, hand sanitizer is a good backup. Pick a sanitizer that is alcohol based. Keep in mind that sanitizer works less well on hands that are visibly dirty, so wipe off dirt first when you can. Use it before you eat and after you use the bathroom. This small habit can keep your whole family healthier during a hard time.
Supplies for When Plumbing Fails
Sometimes the toilets stop working. Pipes can break, or water can get shut off. You still need a way to deal with waste and trash. Plan ahead for this.
Here are some helpful items to add:
- Wet wipes for cleaning your body when you cannot shower
- Garbage bags, including heavy duty ones
- Toilet paper
- A bucket with a tight lid
Garbage bags do more than hold trash. In a pinch, you can line a bucket with a sturdy bag to make an emergency toilet. Tie it off and keep it sealed to control smells and germs. This keeps your living space cleaner and safer.
Wet wipes are great when you cannot bathe. They help you feel fresh and remove dirt. Keep a pack in your kit and rotate them so they do not dry out.
Round Out Your Hygiene Kit
Do not forget the small stuff. Pack a toothbrush, toothpaste, and any personal items your family uses. If you have a baby, add diapers and baby wipes. If someone uses special items for their needs, pack extras of those too.
Many ready-made kits include basic hygiene supplies to get you started. For example, some backpack kits come with hygiene kits, tissues, and nitrile gloves already inside. You can add your own extras from the list above to make the kit fit your household.
Staying clean during an emergency is one of the easiest ways to stay well. A little planning now saves you trouble later.
6. Warmth and Shelter
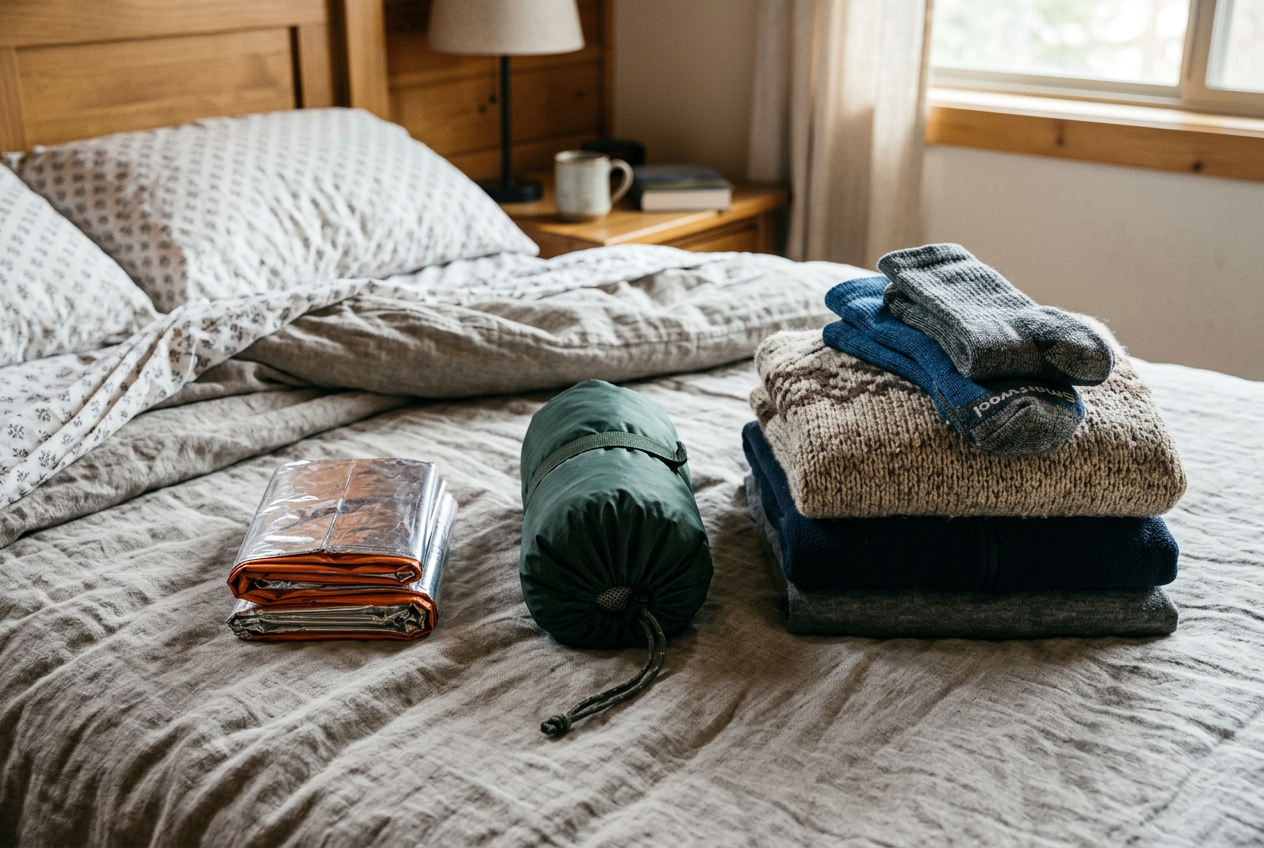
When the power goes out, your home can get cold fast. Heating systems often need electricity to run. If you have to leave your home, you may end up outside in rain or wind. Staying warm and dry is not just about comfort. It helps your body work the way it should.
Your body loses heat when you get cold or wet. If your body gets too cold, you can get confused, slow, and weak. This can happen faster than people think. Wind and rain make it worse. That is why warmth and shelter belong in your emergency kit.
Why These Items Matter
Three simple items do most of the work here: emergency blankets, ponchos, and extra clothing.
Emergency blankets are thin sheets made to trap your body heat. They are small and light, so they fit easily in a kit. They help hold in warmth when you have no heat.
Ponchos keep rain and wind off your body. Staying dry is key. Wet clothes pull heat away from you fast. A poncho is a simple way to stay dry during an evacuation or while waiting outside.
Extra clothing adds layers. Layers trap warm air next to your skin. You can add or remove layers as needed. Think warm socks, a hat, gloves, and a sweater or jacket.
No-Purchase Options You Can Use Now
You do not need to buy anything special to get started. Look around your home first.
- Set aside a few warm blankets you already own. Wool and fleece blankets hold heat well.
- Pack extra clothes you do not wear often. Old sweaters, long underwear, and heavy socks all work.
- Add a knit hat and gloves. A lot of body heat escapes from your head and hands.
- Keep a trash bag or two in your kit. In a pinch, a large plastic bag can block rain and wind.
Layering is the most important trick. Many thin layers keep you warmer than one thick layer. You trap more warm air that way. Choose clothes made of wool or fleece if you can. These stay warmer than cotton, even when damp.
If You Want a Pre-Built Option
Some ready-made kits already include blankets and ponchos. For example, the Ready America 72-hour kit for two people comes with two survival blankets and two ponchos. This can be a quick way to cover warmth and shelter if you would rather not gather items one by one.
Whatever you choose, test your plan. Can your whole household stay warm with what you have? If someone is young, older, or has a health issue, they may feel the cold more. Plan a little extra warmth for them. A few blankets and some warm clothes can make a hard night much safer.
7. Information: A Battery or Hand-Crank Radio
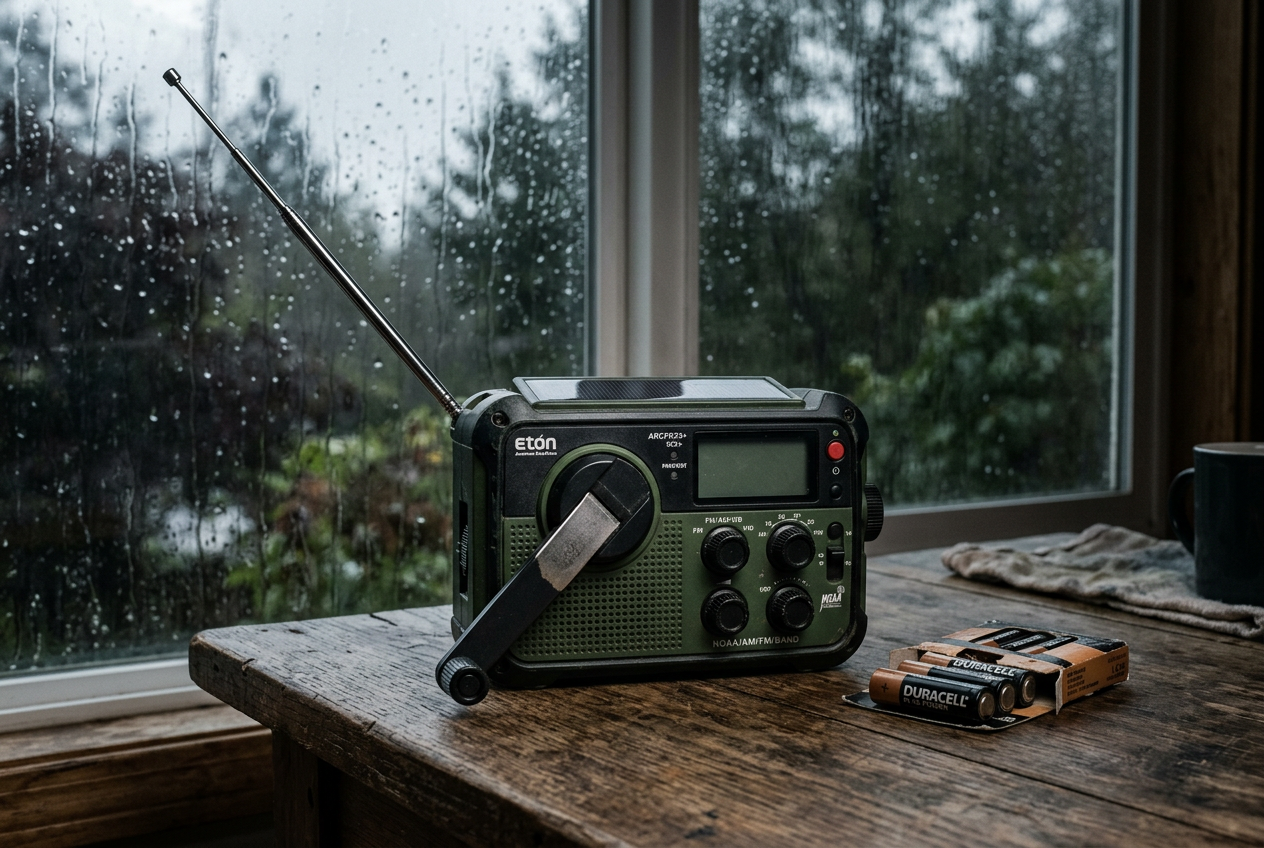
When the power goes out, your TV and internet often go with it. Your phone may still work for a while. But cell towers can fail too. Battery backups at those towers do not last forever. When they run dry, your phone cannot send or receive calls, texts, or alerts.
This is why a radio belongs in your kit. A radio does not need the power grid. It does not need cell service. As long as it has power, it keeps working. That makes it one of the most reliable ways to get news during an emergency.
Why a Radio Keeps You Informed
During a disaster, you need facts. You need to know if a storm is coming closer. You need to know if roads are closed. You need to know when it is safe to leave your home or safe to return. Local radio stations and emergency broadcasts carry this kind of news.
A radio lets you hear official updates without draining your phone. Save your phone battery for calls to family. Use the radio to listen for instructions.
Look for NOAA Weather Alerts
The best emergency radios can pick up NOAA weather channels. NOAA stands for the National Oceanic and Atmospheric Administration. These channels broadcast weather warnings all day and all night. Some radios can even sound an alarm when a warning is issued for your area.
This feature matters most during storms and fast-moving events. A tornado warning or flash flood alert can come with little notice. A NOAA-capable radio can wake you up and tell you to act. Look for the words “NOAA” or “weather alert” when you shop.
Choose a Radio That Does Not Rely on the Grid
The whole point of an emergency radio is that it works when nothing else does. So pick one that does not plug into the wall for power. You have two good options.
A battery-powered radio runs on regular batteries. This is simple and dependable. Just make sure you store extra batteries with it. Check them now and then so they do not go dead in storage.
A hand-crank radio has a small handle you turn to make power. You crank it for a minute or two, and it plays for a while. This is handy because you never run out of power as long as you can turn the crank. You are not stuck waiting for new batteries.
Many radios offer both. Some also charge from the sun or charge your phone through a USB port. A model with more than one power source gives you backup on top of backup.
The main goal is simple. Pick a radio that keeps working on its own. Then you will always have a way to hear the news when you need it most.
8. Communication and a Whistle
In an emergency, you need two things. You need to call for help from far away. And you need to signal for help up close. A charged phone handles the first job. A whistle handles the second. Both belong in your kit.
Why a Whistle Beats Shouting
A whistle is small, cheap, and powerful. It can save your life when your voice cannot.
Picture being trapped under rubble after an earthquake. Or stuck in a building after a storm. Yelling for help wears you out fast. After a few minutes, your throat hurts and your voice gets weak. A whistle takes almost no energy to blow. The sharp sound travels much farther than a shout. Rescuers can hear it through walls and debris.
Three short blasts is a common signal for help. Blow, pause, and repeat. Keep blowing in sets until someone reaches you.
Clip a whistle to your kit. Better yet, keep one on a cord you can wear around your neck. Many pre-built kits include a whistle. Check yours and add one if it is missing.
Keep Your Phone Charged and Reachable
Your phone is your main link to help. It lets you call 911, reach family, and get alerts. But a phone is only useful if it has power.
During a long outage, your battery will die. A wall outlet will not help if the power is out. That is why a backup power source matters.
Pack a portable battery pack, also called a power bank. Charge it fully and keep it ready. A good power bank can refill a phone one or more times. A hand-crank or solar charger is another option. You turn a handle or set it in the sun to make power. These work even when the grid is down for days.
Store the right charging cable with your power bank. A battery pack is useless if you cannot plug in your phone. Check that your cable fits your phone.
Write Down Key Phone Numbers
Here is a problem most people forget. Your phone holds all your contacts. If your phone dies or breaks, those numbers are gone.
So write down the numbers you need most. Put them on a card or a slip of paper. Keep it in your kit with your documents.
Include these:
- Family members and a close friend
- Your doctor and local hospital
- Your workplace or your child’s school
- An out-of-town contact who can relay messages
Pick one out-of-town person as your family meeting point. During a local disaster, long-distance calls sometimes work when local lines are jammed. Everyone in your family can check in with that one person. That way, you all stay connected even if you get separated.
A whistle, a charged phone, a backup charger, and a paper list of numbers. These four simple items keep you reachable when it counts most.
9. Important Documents and Cash
In an emergency, you may need to prove who you are. You may need to file an insurance claim fast. You may need to show a doctor your medical history. If your important papers are lost or hard to reach, all of this gets much harder. That is why your kit should hold copies of key documents and a little cash.
The good news? This step costs almost nothing. You likely own everything you need already. You just need to gather it and keep it safe.
What Documents to Include
Make copies of the papers that matter most. You do not need the originals in your kit. Copies work fine for most needs. Here is what to pack:
- Photo ID. A copy of your driver’s license, state ID, or passport.
- Insurance papers. Home, renters, auto, and health insurance. Include policy numbers and phone numbers.
- Medical info. A list of your medicines, doses, allergies, and your doctor’s name and number.
- Family records. Birth certificates, marriage records, and Social Security cards.
- Contact list. Phone numbers for family, your bank, and your insurance company.
Write your contact list by hand too. If your phone dies, you will still have the numbers you need.
Keep It Waterproof
Water is a big threat to paper. Floods, leaks, and rain can ruin documents in minutes. So protect your copies. A simple zip-top bag works well. A sealed plastic folder works even better. Slide your papers inside and seal it tight.
You can also save digital copies. Take clear photos of each document. Store them in a password-protected cloud account or on a secure USB drive. That way you have a backup even if the paper copies are gone.
Why Cash Matters
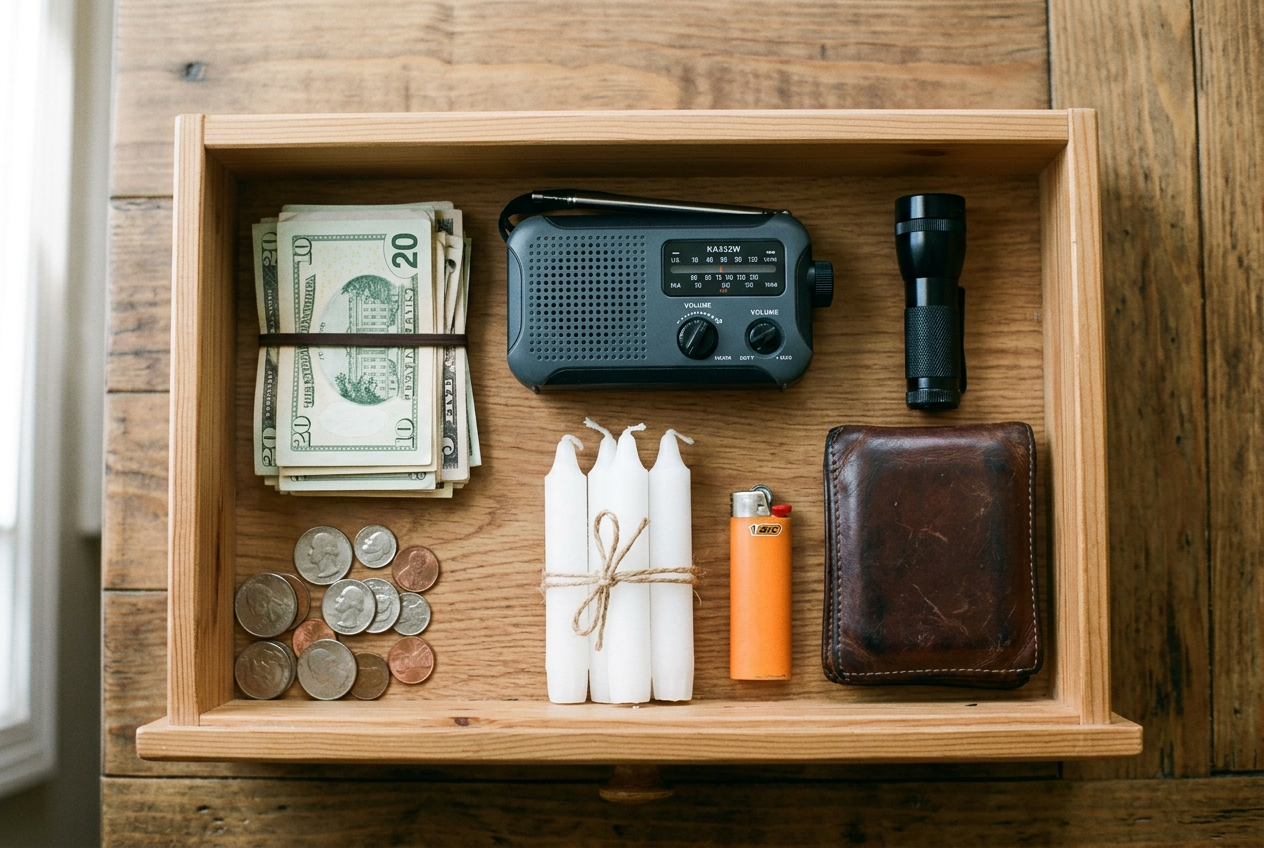
When the power goes out, card readers may stop working. ATMs may go dark. Stores that stay open may only take cash. In that moment, having bills on hand means you can still buy fuel, food, or water.
Keep a small amount of cash in your kit. Use small bills, like ones, fives, and tens. If registers are down, cashiers may not be able to make change for large bills. Small bills let you pay the exact amount.
Do not keep a large stack of money. You are not trying to fund a long trip. You just want enough to get through the first day or two.
Why This Simple Step Helps
These are two of the easiest items on your list. No special gear. No big spending. Yet they save real time and stress. When you can prove who you are, you move faster through aid lines and claims. When you have cash, you keep options open even when systems fail.
Take 30 minutes this week. Gather your copies. Seal them up. Add a little cash. Then put it all in your kit and move on to the next item.
10. Tools and Multi-Use Items
Some items earn their place in your kit because they do many jobs. You cannot plan for every problem. But a few flexible tools can help you handle surprises. This is the part of your kit that fills the gaps.
The Three Tools Worth Having
Start with a multitool. This is one handle that holds many tools. Most have pliers, a knife, a small saw, and screwdrivers. One multitool can replace a whole toolbox for small jobs. You can cut, tighten, pry, and open things with it. Keep it where you can reach it fast.
Next, add a manual can opener. This one is easy to forget. Much of your emergency food comes in cans. If the power is out, an electric can opener will not work. A simple hand-crank opener solves that problem. It is small, cheap, and does one job well. Without it, your canned food stays locked up.
Last, pack a roll of duct tape. Duct tape may be the most useful item in your whole kit. You can use it to patch a torn poncho. You can tape a broken window. You can hold a splint in place. You can seal a leak or mark a path. It sticks to almost anything. One roll covers dozens of small repairs.
Let Household Items Do Double Duty
You do not need to buy everything new. Look around your home first. Many things you already own can work in an emergency.
Here are a few examples:
- A large plastic bag can hold trash, keep clothes dry, or work as a rain cover.
- A sturdy bucket can carry water or serve as an emergency toilet with a liner.
- Old towels or rags can clean up spills, soak up water, or wrap fragile items.
- A permanent marker lets you label supplies or leave notes.
- Garden gloves protect your hands when you clear debris.
- A spare phone charger and cord keep your devices alive if you have power.
Think about what each item can do, not just what it was made for. A beginner does not need a perfect kit on day one. You can add better tools over time.
A Note on Pre-Built Kits
Many ready-made kits include basic tools so you do not have to gather them yourself. For example, the Ready America 70285 Deluxe kit adds tools and water purification tablets along with food and shelter items. A pre-built kit is a fast way to cover the basics. You can still add your own multitool, can opener, and duct tape to round it out.
The goal here is flexibility. These items will not grab your attention like water or food. But when something breaks or needs a quick fix, you will be glad they are there.
Shortcut: Pre-Built Kits Compared
Building a kit from scratch takes time. If you want a faster start, a pre-built kit covers many of the 10 items in one box. These kits usually include food bars, water pouches, a first aid kit, shelter items, and basic tools. They are a smart starting point for a new household.
Keep one thing in mind. No pre-built kit includes your personal medications, your important documents, or your cash. It also will not hold enough water for several days. Use a ready-made kit as a base. Then add your own items to make it complete.
Here is a quick look at three kits you can build on.
Ready America 70280 (2-Person)
This is a basic 72-hour kit for two people. According to the product listing, it comes with emergency food bars, sealed water pouches, ponchos, survival blankets, a first aid kit, dust masks, and nitrile gloves. Check the current listing for exact counts and calorie figures, as these can change. We have not independently verified these specs. It covers food, water, light shelter, and basic first aid in one backpack. It is a good first kit for a couple or a small household.
Ready America 70285 Deluxe (2-Person)
This deluxe version is also built for two people over three days. According to the product listing, it adds water purification tablets and a reusable bottle, emergency food bars, water pouches, a first aid kit, hygiene kits, ponchos, and blankets. Check the current listing for exact counts and sizes. We have not independently verified these specs. The extra water tools and hygiene items make it a step up from the basic kit.
First My Family All-in-One (4-Person)
If you have a larger household, this kit is built for four people. According to the product listing, it includes food and water rations for four, a larger first aid kit, and shelter and warmth supplies. Check the current listing for exact piece counts and any stated preparedness guidelines. We have not independently verified these specs. The larger first aid kit and four-person rations make it a solid base for a family.

Make Any Kit Your Own
Whichever kit you pick, plan to personalize it. Add a 3-day supply of your own medications. Add copies of important documents and some cash. Store extra water, since pouches alone will not meet the one gallon per person per day goal. A pre-built kit gets you most of the way. Your personal additions finish the job.
Your Emergency Kit Action Checklist
You do not need to buy everything at once. In fact, you should not. Panic buying wastes money and leads to mistakes. Instead, build your kit over a few shopping trips. Start with the basics that keep you alive. Add the rest as you go.
Here is a simple plan you can start today. Print this page if you want a copy to check off by hand.
Trip 1: Water and Food First
These two items matter most. Get them before anything else.
- Store one gallon of water per person per day. Aim for at least a three-day supply to start.
- Buy non-perishable food that needs little or no cooking. Think canned fruits, canned vegetables, canned meats, peanut butter, nuts, crackers, protein bars, and cereal.
- Add a manual can opener if your food needs one.
If you want a fast start, a prebuilt kit can cover water and food for a short period. Sealed emergency water pouches are also easy to store and have a long shelf life.
Trip 2: Light, First Aid, and Medicine
Once you have water and food, focus on health and safety.
- Get a flashlight and extra batteries for each person.
- Buy or build a first aid kit.
- Set aside a few days of any medications you take. Check expiration dates.
- Add gloves, hand sanitizer, hand soap, and face coverings. General preparedness guidance recommends these for home kits.
Trip 3: Hygiene, Warmth, and Shelter
Now cover comfort and cleanliness. These help you stay well during a long event.
- Pack hygiene items like toilet paper, wet wipes, and feminine supplies.
- Add trash bags for sanitation.
- Store warm layers, a blanket, or survival blankets for each person.
- Include emergency ponchos in case of rain.
Trip 4: Information and Communication
You need to hear news and call for help.
- Get a battery or hand-crank radio.
- Add a whistle for each person. A whistle helps rescuers find you.
- Keep a backup phone charger if you can.
Trip 5: Documents, Cash, and Tools
Finish with the items that help you after the emergency starts.
- Gather copies of important documents. Keep them in a waterproof bag.
- Set aside some cash in small bills.
- Add basic tools and multi-use items, like a multi-tool.
Keep It Fresh
Your kit is not finished once it is packed. Check it a couple of times a year.
- Rotate food and water before they expire.
- Replace used or old first aid items.
- Update medications and documents when things change.
Work through one trip at a time. By the end, you will have a full kit without stress or overspending.
Frequently Asked Questions
How much water should I store?
Store one gallon of water per person per day. Plan for at least three days. That means three gallons for one person. A family of four needs twelve gallons for the same period.
Some of that water is for drinking. Some is for cleaning and hygiene. If you can store more, that is good. But do not overbuy or hoard. Start with the three-day amount and build from there.
Sealed water pouches are a simple option for a grab-and-go bag. They are compact and easy to store. Products like Datrex emergency water packets come in small sachets that are easy to hand out.
How long does a 72-hour kit last?
A 72-hour kit is built to support you for about three days. That is where the name comes from. The idea is to cover the first stretch of an emergency before help arrives or power comes back.
Three days is a starting point, not a hard limit. Many experts suggest building toward a longer supply over time. But a solid 72-hour kit is a strong first step for a new household.
Where should I keep my emergency kit?
Keep your main kit in a spot that is easy to reach. A hall closet near the front door works well. You want to grab it fast if you need to leave.
Pick a cool, dry place. Avoid damp basements or hot attics that can harm food and batteries. It is also wise to keep a smaller kit in your car. That way you are covered away from home too.
How do I adapt my kit for kids?
Think about what a child needs each day. Pack extra snacks they will actually eat. Add diapers, wipes, and formula for babies. Include a favorite small toy or comfort item to help keep them calm.
Keep copies of any medical details for your kids. Update the kit as they grow. Clothes and sizes change fast.
What about pets?
Do not forget your animals. Store food and water for each pet. Add a leash, a carrier, and any medicine they take. Keep a photo of your pet in case you get separated. Pack a bag or litter for waste too.
How do I handle medical needs and medications?
Keep a few days of your regular medicine in your kit. Rotate it so it stays current and does not expire. Write down the names, doses, and times for each one.
Add any special gear you depend on, like glasses, hearing aid batteries, or supplies for a condition. Keep a short list of your doctors and emergency contacts with your important papers.
Do I need to build my kit from scratch?
No. You can start with household items you already own. A pre-built kit can also save time and cover the basics in one box. Either way, check your kit twice a year. Swap out old food, water, and batteries so everything is ready when you need it.
Next Steps: From List to Ready Kit
You now know the 10 items that matter most in a home emergency kit. Here they are one more time, in priority order:
- Water
- Non-perishable food
- Light, like a flashlight and extra batteries
- First aid kit and personal medications
- Hygiene and sanitation supplies
- Warmth and shelter
- A battery or hand-crank radio
- Communication tools and a whistle
- Important documents and cash
- Tools and multi-use items
The list can feel like a lot. You do not have to buy it all today. The best way to start is to pick the top two and build from there.
Start With Water and Food Today
Water comes first. You can live only a few days without it. A common guideline is one gallon per person per day for at least three days. Fill a few clean containers or buy sealed water pouches made for emergencies. Pouches store well and are easy to grab if you need to leave fast.
If you want a ready-made option, these pre-measured pouches are built for storage and have a long shelf life.
Food comes next. Pick easy-to-prepare items you do not have to cook. Think canned fruit, peanut butter, protein bars, nuts, and crackers. Choose foods your family already eats. Rotate them before they expire so nothing goes to waste.
Once water and food are set, add light, a first aid kit, and your personal medications. Then work down the rest of the list over the coming weeks. Small steps add up.
Build a Family Plan
A kit is only half the job. Your family also needs a plan. Talk through a few simple questions:
- Where will you meet if you cannot get home?
- How will you reach each other if phones are down?
- Who picks up kids, pets, or an older relative?
Write the plan down. Keep a copy in your kit with your important documents. Make sure everyone, including kids, knows the basics. A short talk now saves confusion later. You can learn more about planning at ready.gov.
Expand Beyond 72 Hours
Most starter kits cover about three days, or 72 hours. That is a strong first goal. If you want to go further, add more water, more food, and extra batteries. Build up slowly as your budget allows. There is no need to rush or overbuy.
If you would rather skip the shopping list, a pre-built kit gives you the core items in one bag. See the pre-built kits compared earlier in this article to find one that fits your household size.
Your next move is simple. Set out your water and food today. Then come back and add one more item each week until your kit is complete.
Sources and Further Reading
- Gather supplies to prepare for the worst. In June, we …
- What are some things that should be in an emergency kit …
- Emergency Kit List: What Items Do You Need To Stay Safe?
- Essential Emergency Kit Checklist | PDF
- Essential Items for Your Emergency Preparedness Kit
- Ready.gov: Plan Ahead for Disasters
- National Preparedness Month: Americans Stand Ready