Ready
Pet First Aid Guide: How to Treat Dogs and Cats in a Disaster When the Vet Is Far Away
A storm knocks out the roads. Your dog cuts his paw on broken glass. The nearest vet is three hours away, and the phone lines are down. What do you do?
This guide is here for moments like that. When a disaster hits, help can be slow to arrive. You may need to care for your dog or cat on your own for hours, maybe longer. The good news is that calm, basic first aid can make a real difference. You can stop bleeding. You can keep a pet warm. You can spot the signs of serious trouble and know when to act fast.
We will walk through it step by step. You will learn safe handling, how to check vital signs, how to treat wounds, burns, choking, heatstroke, and more. We will also cover which over the counter medicines are generally safe, and which human drugs can harm or kill your pet.
One thing must be clear from the start. This guide does not replace a veterinarian. It helps you bridge the gap until you can reach real care.
So build that bridge now. Find a friendly vet and get to know them. Rural vets are often the most supportive of owners who can handle the basics. Ask them about safe doses and what to stock. For more, see our full guide to pet emergency preparedness.
- Build a pet first aid kit before disaster strikes, and check it every 6 months to replace used or expired items.
- Know your pet's normal signs so you can spot trouble fast. A healthy dog's temperature is about 100 to 102.5 degrees Fahrenheit.
- Stop bleeding by pressing clean gauze on the wound for at least 3 to 5 minutes, then wrap it to hold pressure.
- Even gentle pets may bite when hurt, so use a muzzle before you touch a painful spot.
- Keep your pet calm and warm, and get to a vet as soon as it is safe to travel.
One practical preparedness move each week. No fear-mongering, ever.



Reviewed by Elena V., James W. & Ryan C. — contributors with hands-on preparedness experience. How we test
A few key supplies can help you care for your dog or cat when help is far off. Grab these items first, then keep reading to learn how to use them.

Dog and Cat First Aid Kit
This kit gives you the core supplies to treat wounds and injuries when a vet is out of reach. It fits at home, in the car, or in your bag so you are ready anywhere.
Check Price on Amazon
Self-Stick Vet Wrap
This wrap sticks to itself, not to fur, so it holds bandages in place and supports strains or sprains. It is a must for keeping a wound covered while you travel to help.
Check Price on Amazon
Soft Mesh Dog Muzzle
A hurt dog may snap even at its owner, so a muzzle keeps you safe while you give care. The soft mesh still lets your dog pant and drink.
Check Price on AmazonIn this guide
Why Trust This Guide?
This article was researched and reviewed by contributors with hands-on experience in emergency preparedness. They have tested gear, built real systems, and lived through situations where these skills actually mattered.
First Steps: Safe Assessment and Restraint
When your pet is hurt, your first job is to stay calm. Animals read your mood. If you panic, they panic. Take a slow breath. Speak in a low, steady voice. Move slowly. A quiet, calm you helps a scared pet settle down.
Even the sweetest dog or cat may bite when hurt or afraid. This is not bad behavior. It is pain and fear. Pain makes animals defensive. So before you touch an injured pet, think about safety for both of you. A bite can stop you from helping at all.
Approach Slowly and Read the Body
Walk up slowly from the side, not head on. Avoid staring right into their eyes. Let the pet see and smell you first. Watch the body language. Flattened ears, a tucked tail, bared teeth, growling, or hissing all say “back off.” A pet that is very still and tense may also be ready to snap. Give them a moment before you reach in.
Wrapping a Cat in a Towel
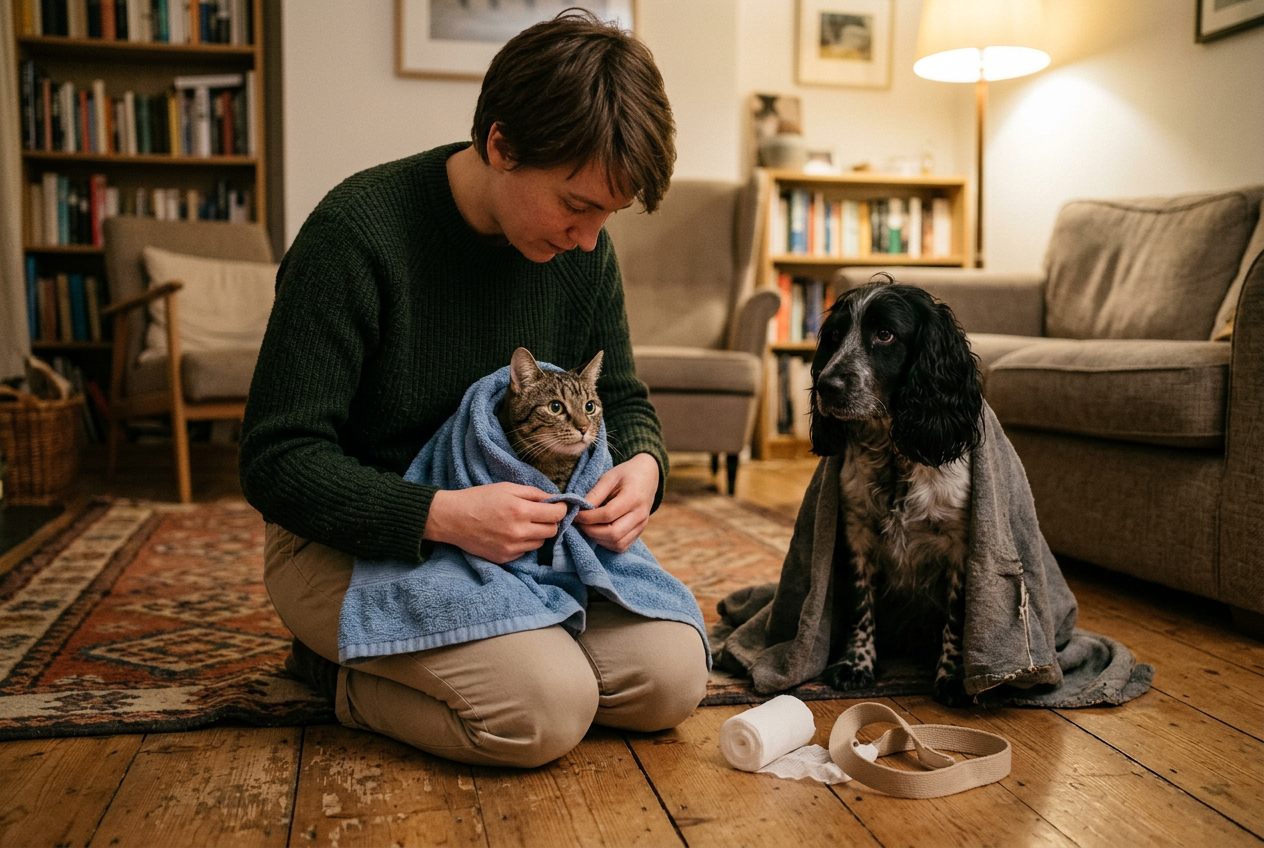
Cats are fast and have claws plus teeth. The safest way to hold a hurt cat is the “burrito wrap.” Lay a thick towel flat. Set the cat in the middle. Pull one side of the towel over the body, then the other, so only the head sticks out. This keeps the legs tucked and the claws covered. You can still check the face, mouth, and gums while the body stays wrapped. Work gently and do not wrap so tight that breathing is hard.
Making a Temporary Muzzle
For dogs, a muzzle can keep you safe while you treat a wound. In a pinch, you can make one from a strip of gauze, a soft leash, or a necktie. Make a large loop. Slip it over the snout. Tie it snug on top of the nose, then bring the ends under the chin, and tie again behind the ears. Do not cut off breathing.
Never muzzle a pet that is vomiting, choking, struggling to breathe, or badly overheated. A muzzle can block their airway or trap vomit. If any of those are happening, skip the muzzle and protect your hands another way.
A real muzzle is easier to use than a homemade one, and worth keeping in your kit. A soft mesh muzzle works well for calm dogs and for muzzle training ahead of time.
An adjustable nylon muzzle gives a snugger, more secure fit for control during first aid. Measure the tip of the snout, not the widest part, so the size is right.

Practice putting a muzzle on while your dog is calm and healthy. A pet that already knows the feel will accept it far better during a real emergency. For more on getting ready before trouble strikes, see our guide to pet emergency preparedness.
Checking Vital Signs: Temperature, Pulse, Breathing, and Gums
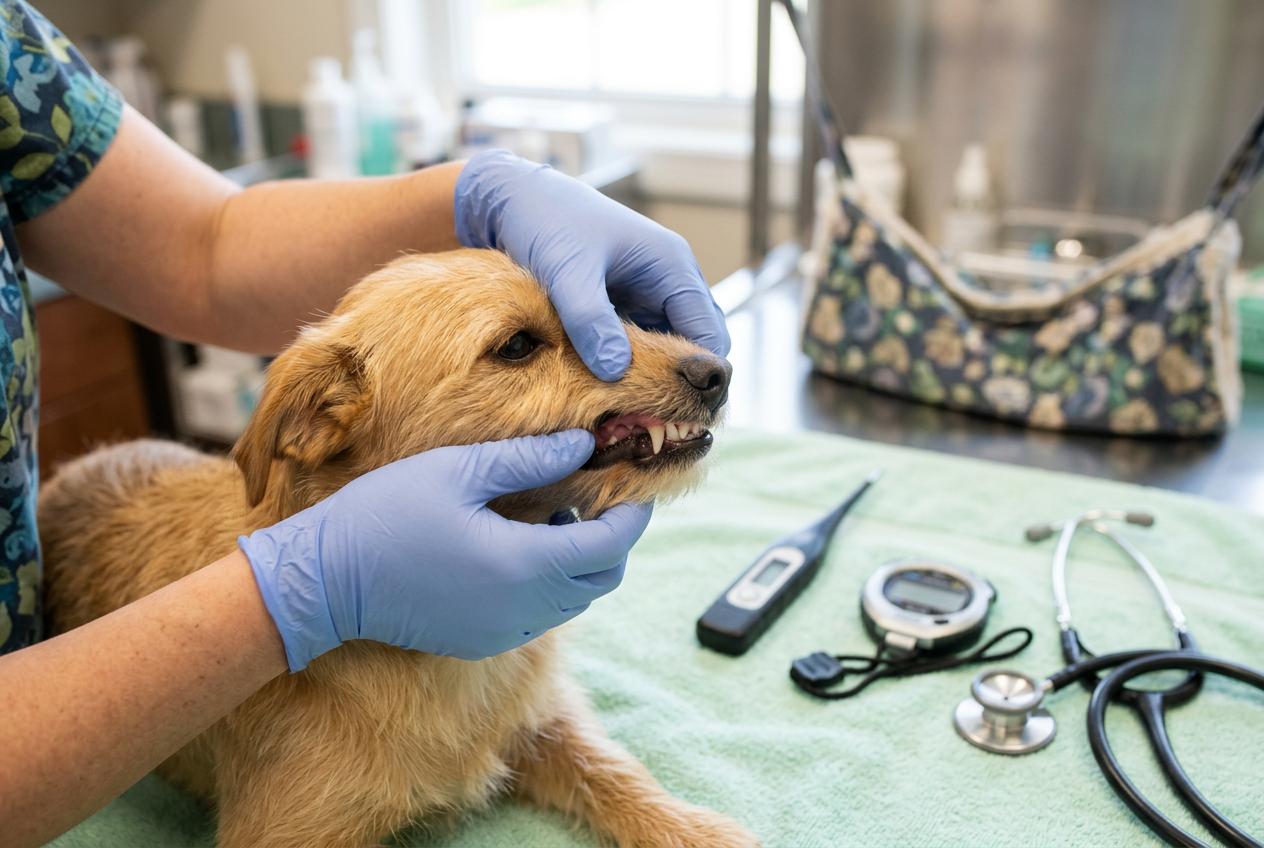
Vital signs tell you how your pet is doing inside. When the vet is far away, these numbers help you decide how fast to act. The best time to learn them is now, while your pet is healthy. That gives you a baseline. A baseline is what is normal for your own dog or cat. When something changes, you will notice fast.
Check with your own vet about the exact normal ranges for your pet. The general ranges below are widely used starting points, but your pet may run a little different. Always confirm your pet’s normal numbers with your own veterinarian.
Temperature
A pet’s temperature is taken in the rectum with a digital thermometer. Many pet first aid kits include one. Put a little lubricant on the tip. Lift the tail and insert it gently. Hold it until it beeps.
Normal body temperature for dogs and cats is higher than for people. Published ranges vary by source, so do not rely on a specific number here. Ask your vet for your pet’s normal range and write it down as a baseline. A reading noticeably above that can mean fever or heatstroke. A reading noticeably below that can mean shock or hypothermia. Both are reasons to get help fast.
Pulse and Heart Rate
You can feel a pulse on the inside of the back leg, where the leg meets the body. This spot is the femoral artery. Press gently with two fingers. Count the beats for 15 seconds. Then multiply by four. That gives beats per minute.
Heart rate changes with size. Small dogs and cats beat faster. Large dogs beat slower. Puppies and kittens beat faster than adults. Learn your pet’s resting number now. A very fast, very slow, or uneven pulse is a warning sign.
Breathing
Watch your pet’s chest rise and fall while they rest. Count breaths for 15 seconds and multiply by four. One breath is one rise and one fall together.
Panting after exercise is normal. But fast, hard, or noisy breathing while resting is not. Open-mouth breathing in a cat is a serious sign. Blue or gray gums with breathing trouble means get help right away.
Gum Color and Capillary Refill
Gums tell you a lot about blood flow. Healthy gums are usually pink and moist. Lift your pet’s lip and look. Some pets have dark or spotted gums, so learn your pet’s normal color now.
To check capillary refill time, press a finger on the gum until it turns white. Lift your finger. A commonly cited normal is that the pink color returns in about one to two seconds, but this number is not verified against a veterinary authority here, so confirm your pet’s normal with your vet. Slow refill, or gums that are pale, white, blue, yellow, or brick red, can signal shock, poisoning, or poor oxygen. These are all reasons to seek care fast.
Write your pet’s normal numbers down. Keep them in your pet emergency kit so you can compare during a crisis.
Bleeding, Wounds, Bandaging, and Splinting
Bleeding looks scary, but most cases stop with steady pressure. Stay calm. Your pet feels your mood.
Stop the Bleeding
Grab a clean cloth, gauze pad, or even a folded shirt. Press it firmly on the wound. Hold steady for at least three to five minutes. Do not keep lifting the cloth to peek. That pulls off the clot that is starting to form.
If blood soaks through, do not remove the first layer. Add more padding on top and keep pressing. For a bleeding leg or paw, you can raise it gently above heart level to slow the flow.
Spurting, bright red blood may mean an artery. This is serious. Keep firm pressure and plan to get to care fast.
Clean the Wound
Once bleeding slows, clean the area. Plain saline is the gentlest choice. If you do not have store-bought saline, plain clean water works to flush a wound. Store-bought sterile saline is the safest and most reliable choice when you have it. Pour or squirt it over the wound to flush out dirt and debris.
Do not pour hydrogen peroxide or alcohol into a wound. These sting and can harm healing tissue. Save peroxide for other uses and ask your vet first.
Bandage Without Cutting Off Blood Flow
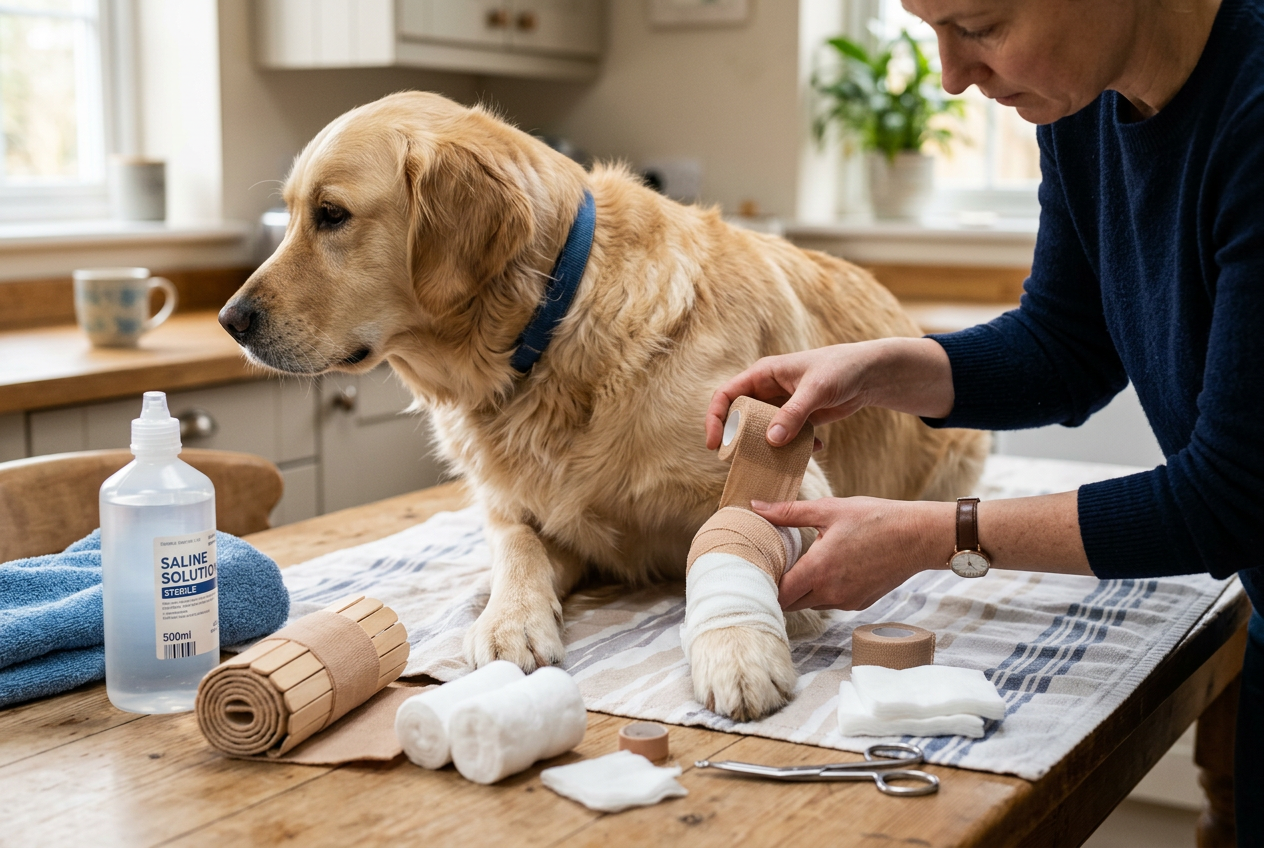
Cover the clean wound with a non-stick gauze pad. Then wrap it to hold the gauze in place.
Self-adhesive vet wrap is perfect for this. It sticks to itself but not to fur or skin. That means no painful pulling when you take it off, and no sticky mess. It stretches and shapes around legs and paws.
Wrap snug, not tight. You should be able to slide one finger under the edge. Overlap each layer by about half. A smaller, colorful roll works well on paws and small pets.

After wrapping, check the toes. On dogs and cats, the toes often peek out of a leg bandage. Feel them every hour or so. If the toes turn cold, puffy, or swollen, the wrap is too tight. Remove it and start over, looser this time. Spreading toes or a bad smell also mean trouble.
Splint a Suspected Broken Leg
If a leg looks bent wrong or your pet will not use it, do not try to set the bone. Your job is to keep it still for the trip to care.
Find something firm and straight. A rolled magazine, a ruler, or a sturdy stick can work. Lay it along the leg. Pad it with a cloth or gauze so it does not dig in. Then wrap vet wrap around both the limb and the splint, snug but not tight.
Keep checking for swelling and cold toes just like with any bandage. If your pet is in a lot of pain, go slow and protect yourself from bites.
Even a well cleaned wound or splint needs a vet soon. First aid buys time. It does not replace stitches, pain relief, or antibiotics.
Emergencies: Choking, CPR, Heatstroke, Hypothermia, and Shock
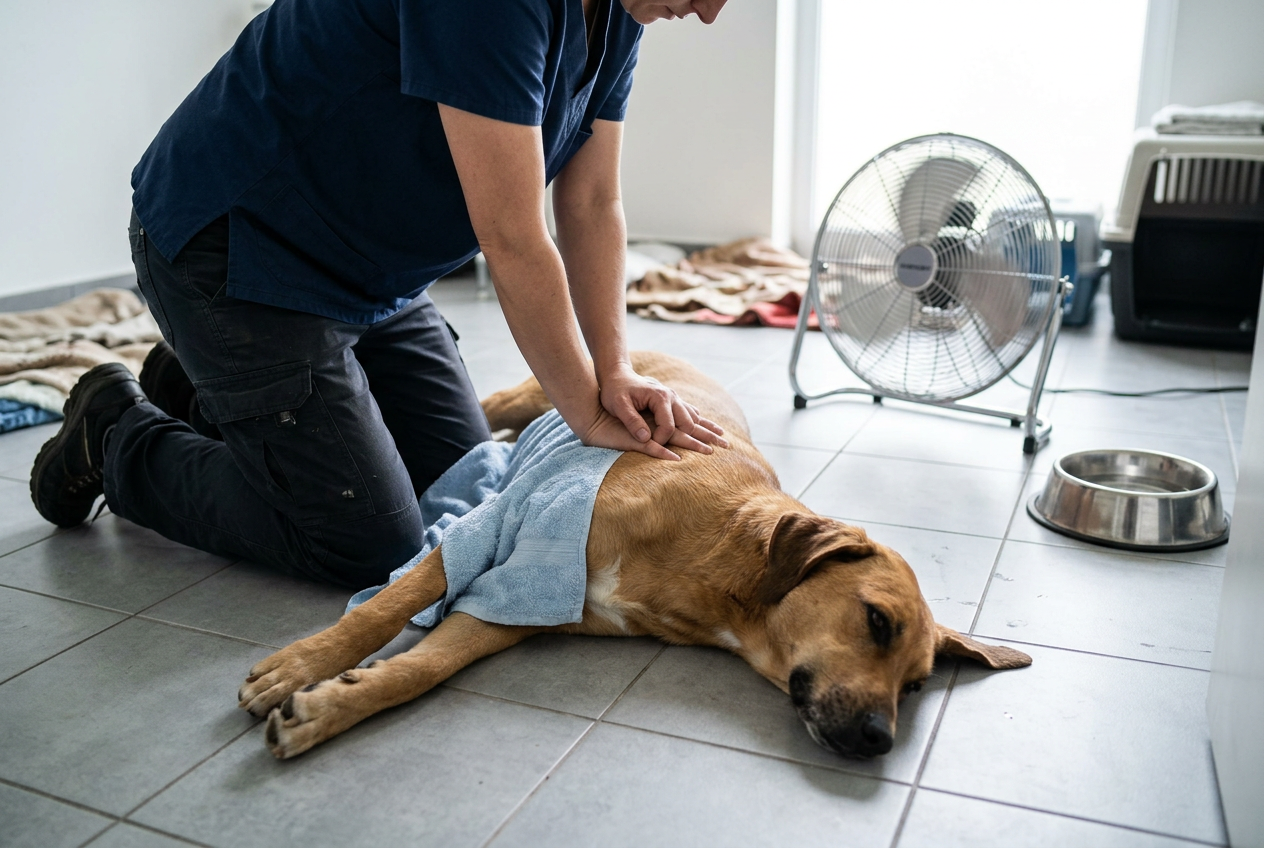
These are the scary moments. Stay calm. Your job is to steady your pet while you arrange transport to care. These are stabilizing steps only. They buy time. They do not replace a vet.
Choking
A choking pet may paw at its mouth, gag, or struggle to breathe. Gums may turn blue. Open the mouth and look. If you see an object and can grab it safely, pull it out. Do not blindly sweep deep with your fingers. You could push it farther down or get bitten.
If you cannot remove it, do not improvise forceful thrusts based on this guide, since the exact technique is not verified against a veterinary authority here and done wrong it can injure your pet. Ask your vet to show you the correct method ahead of time, or take a hands-on pet first aid class. Keep the pet as calm as you can and get to a vet right away.
Pet CPR
If your pet is not breathing and has no heartbeat, CPR may help. Lay the animal on its side on a firm surface.
Pet CPR technique and timing are detailed clinical skills, and getting them wrong can cause harm. We are not listing specific hand positions, compression counts, or breath ratios here, because those numbers are not verified against a veterinary authority in this guide. Ask your vet to teach you proper pet CPR ahead of time, or take a hands-on pet first aid class from a recognized provider. In the moment, lay the animal on its side on a firm surface and get to care as fast as you can. CPR works best with a second person driving while you work.
Heatstroke
Heatstroke is dangerous. Signs include heavy panting, drooling, weakness, vomiting, and collapse. Move your pet to shade or a cool spot right away.
Begin cooling the body with cool or room-temperature water. Pour or sponge water over the body, and a fan helps. Exact cooling guidance (how cold the water should be and when to stop) is not verified against a veterinary authority here and advice varies, so if you can reach your vet or an animal poison control line, ask for current guidance while you cool. Do not force water into the mouth of a weak or groggy pet, since they can breathe it in. Then get to a vet. Damage can continue even after the body cools.
Hypothermia
A pet that is too cold may shiver, act sleepy, or move slowly. Dry it off if it is wet. Wrap it in blankets or towels. A warm, not hot, water bottle wrapped in cloth can help. Place it against the belly. Warm the pet slowly. Move toward care while you warm.
Shock
Shock can follow any serious injury, heatstroke, or heavy bleeding. Watch for pale gums, fast breathing, weakness, and a racing or weak pulse. Keep your pet calm, warm, and still. Lay it on its side. Control any bleeding. This is an emergency. Get to a vet now.
For kit basics that help in these moments, see our pet emergency preparedness guide.
Poisoning, Burns, Eye Injuries, Paw Pads, and Snake Bites
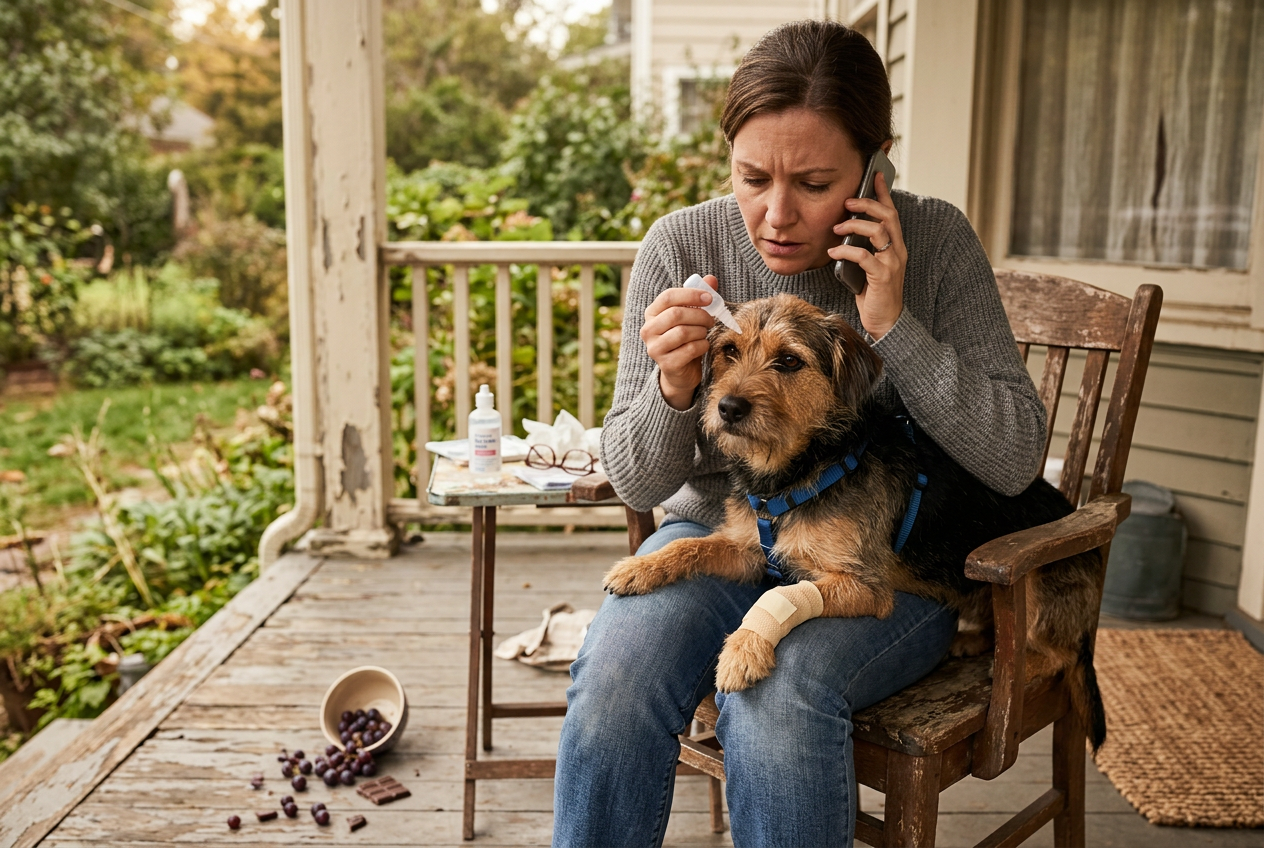
Disasters bring new dangers into your pet’s world. Smoke, floodwater, and scattered chemicals can all cause harm. Here is how to handle the most common ones calmly.
Poisoning and Smoke
If your pet swallows something harmful, do not guess. Call the ASPCA Animal Poison Control Center (888-426-4435, confirm the current number on the ASPCA website) or your vet first. Some poisons do more damage coming back up. Never make your pet vomit unless a professional tells you to.
Floodwater is often dirty. It can carry sewage, chemicals, and sharp trash. Do not let your dog or cat drink it or walk through it if you can help it. Rinse their paws and coat with clean water afterward.
Smoke can hurt the lungs. If your pet breathed smoke, move them to fresh air. Watch for coughing, fast breathing, or weakness. These pets need a vet as soon as you can reach one.
Keep toxic foods away from pets during the stress of a disaster. Several common foods, including chocolate, grapes, raisins, onions, garlic, and xylitol (a sweetener), are widely reported to be harmful to dogs and cats. Confirm the current list with your vet or an animal poison control line, and store your food out of their reach.
Have the poison control number saved in your phone and written in your pet first aid kit. Be ready to say what your pet ate, how much, and when.
Burns
The following burn steps are general first-aid information, not verified against a veterinary authority here, so confirm with your vet. For a burn, cool the area with cool (not ice cold) running water for several minutes. Do not use butter, oils, or ointments. These can trap heat. Cover the burn loosely with a clean, damp cloth. Then get to a vet. Large or deep burns are serious and need real care.
Eye Injuries
Eyes are easy to hurt with dust, smoke, or debris. If something is in the eye, flush it gently with saline eye wash or clean water. Pour it across the eye. Do not rub it and do not try to pull out anything stuck in the eyeball. Keep your pet from pawing at it. A cone or soft collar helps. Eye injuries can worsen fast, so call your vet.
Paw Pads
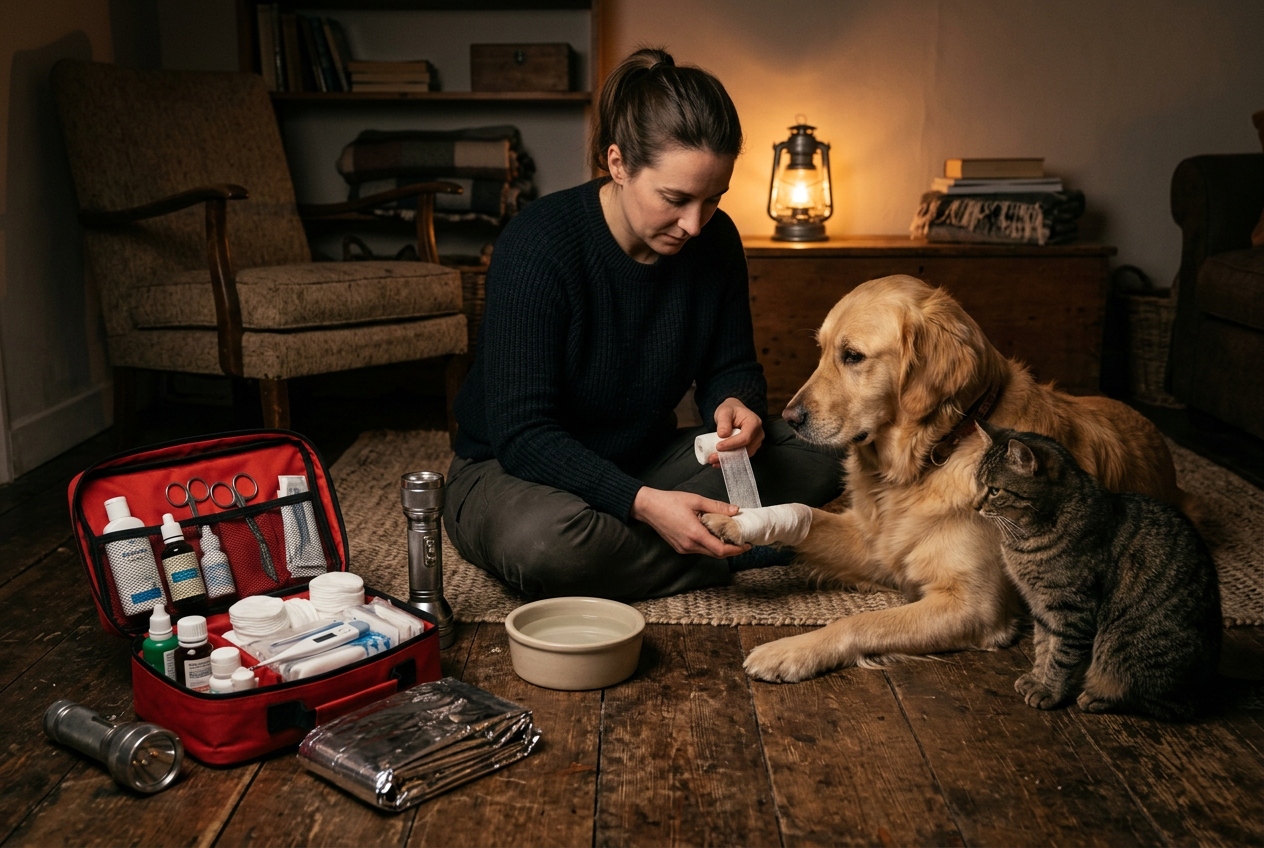
Paws take a beating after a storm. Glass, hot ground, and rough rubble all cut and burn pads. Rinse the paw with clean water. Pick out loose debris with tweezers if you can see it. For bleeding, press with a clean pad. Then wrap the paw with gauze and self-stick bandage. Keep the wrap snug but not tight. You should be able to slip a finger under it.
Snake Bites
The following snake bite steps are general first-aid information, not verified against a veterinary authority here, so confirm with your vet. If a snake bites your pet, stay calm and keep your pet calm. Movement spreads venom faster. Keep the bitten area as still as you can. Do not cut the wound, do not suck out venom, and do not use a tourniquet. Carry your pet to the car and get to a vet quickly, since antivenom and professional care are the only reliable treatments.
OTC Medications Generally Considered Safe for Dogs and Cats
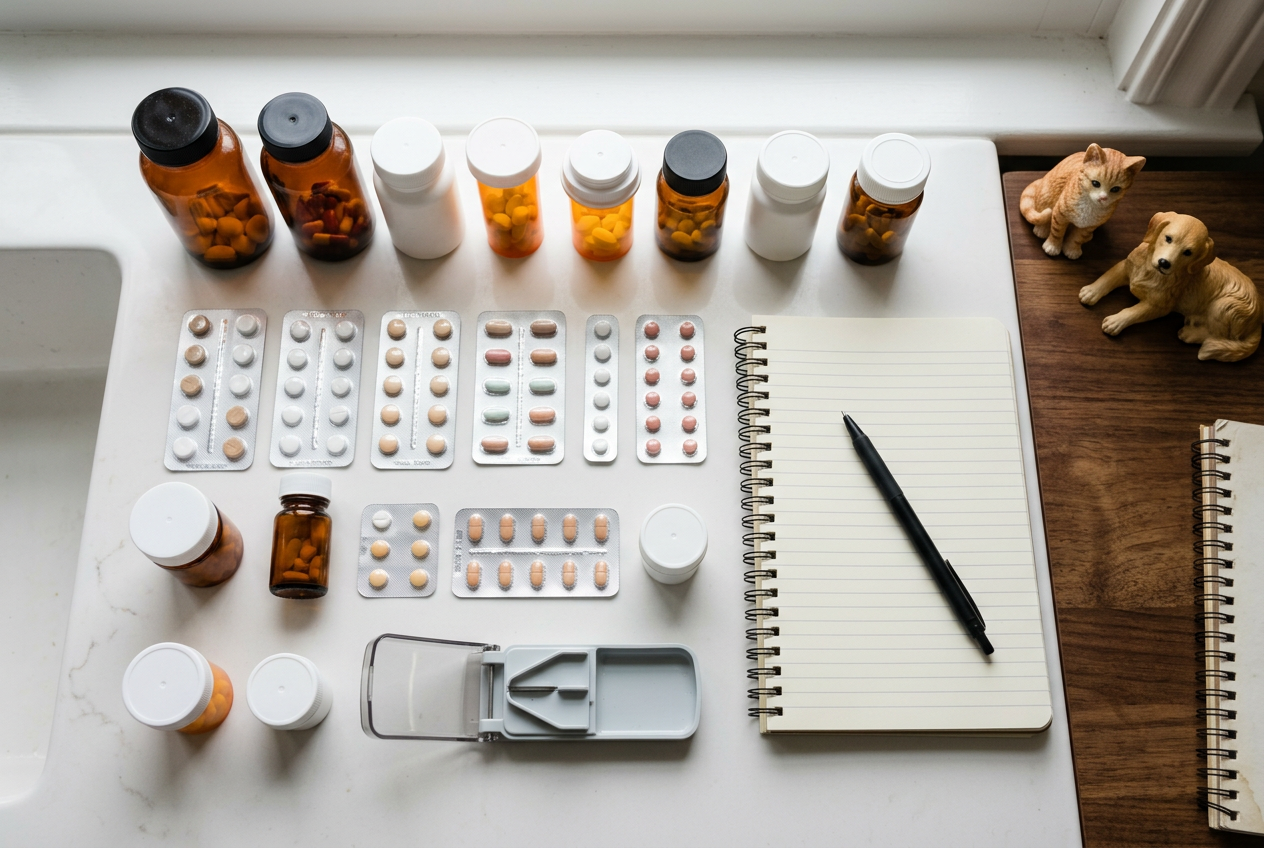
Some of the human medicines you can buy right off the shelf can actually help your pet, too. But here’s the catch: only when your vet gives you the go-ahead. Never try to guess at a dose. Your pet’s weight, age, and overall health all come into play. A dose that’s perfectly safe for a big dog could seriously hurt a small cat. That’s exactly why the first step is always a conversation with your vet. Ask them ahead of time to write down the right doses for your own pet.
Read This First: Dangerous Human Medicines
The FDA warns that some of the most common human pain relievers can actually be harmful to pets. As a safe rule of thumb, don’t give any of these unless your vet specifically tells you to:
- Ibuprofen (Advil, Motrin). An NSAID that the FDA says may not be right for your pet and may even be harmful.
- Naproxen (Aleve). An NSAID that the FDA lists alongside ibuprofen as a human medicine that may be harmful to pets.
- Acetaminophen (Tylenol). The FDA states this common pain reliever is fatal to cats.
If your pet accidentally swallows any of these, call your vet or ASPCA Animal Poison Control right away.
Medicines a Vet May Approve
There are a handful of OTC products that vets do sometimes use in pets, as long as they’re guiding you. Always double-check the exact product and the dose with your vet first.
One big thing to watch out for: steer clear of anything containing xylitol. This sweetener is extremely toxic to dogs, and it sneaks into some liquid medicines and chewables. Read every single label, and always choose xylitol-free versions.
Here’s a quick reference you can use. Think of it as a tool to help you ask your vet the right questions, not a license to dose on your own.
Why Dose Must Come From Your Vet
The products above aren’t automatically safe just because they’re sold for people. The right amount really does depend on your particular pet, and giving too much can do real harm. Cats, in particular, are far more sensitive than dogs to many drugs. Something that helps a dog can poison a cat.
This is just one more good reason to build a relationship with a friendly vet, especially if you’re out in the country. A lot of rural vets are happy to support owners who want to learn the basics of care. Ask yours to write down safe doses for your dog or cat, then tuck that note into your pet first aid kit. For more on planning ahead, see our guide to pet emergency preparedness.
This section is general information. It is not a substitute for veterinary care. Always check with your vet before giving any medicine.
Dehydration, Transport, and Getting to Care

When the vet is far, getting water and getting your pet to help both matter. Here is how to handle each one calmly.
Spotting Dehydration
A pet can lose water fast from heat, vomiting, or diarrhea. You can check for dehydration at home. Try the skin test first. Gently lift the skin on the back of the neck or between the shoulders. In a well hydrated pet, it snaps back fast. If it stays tented or falls back slowly, your pet may be dehydrated.
You can also check the gums. Healthy gums feel wet and slick. Dry, sticky, or tacky gums are a warning sign. Sunken eyes and low energy are other signs.
When Oral Fluids May Help
If your pet is awake, alert, and able to swallow, you can offer small amounts of water. Let them drink slowly. Too much at once can cause vomiting. You can offer water every few minutes instead of one big bowl.
Do not force water into the mouth of a pet that is weak, groggy, or not fully awake. They can breathe it in. That is dangerous. A very dehydrated pet needs a vet. Fluids under the skin or in a vein are a vet job, not a home job. Call animal poison control or your vet if you are unsure. Serious dehydration is a reason to get to care as soon as a route opens.
Carrying an Injured Pet Safely
An injured pet may be scared and may bite. Move slowly and talk softly. For a small dog or a cat, you can lift and support the chest and back end at the same time.
For a larger dog that cannot walk, make a stretcher. A firm board, a sled, or a sturdy blanket can work. If you use a blanket, have one person at each end. Keep the back as flat and still as you can. This matters most if you think there is a spine or leg injury.
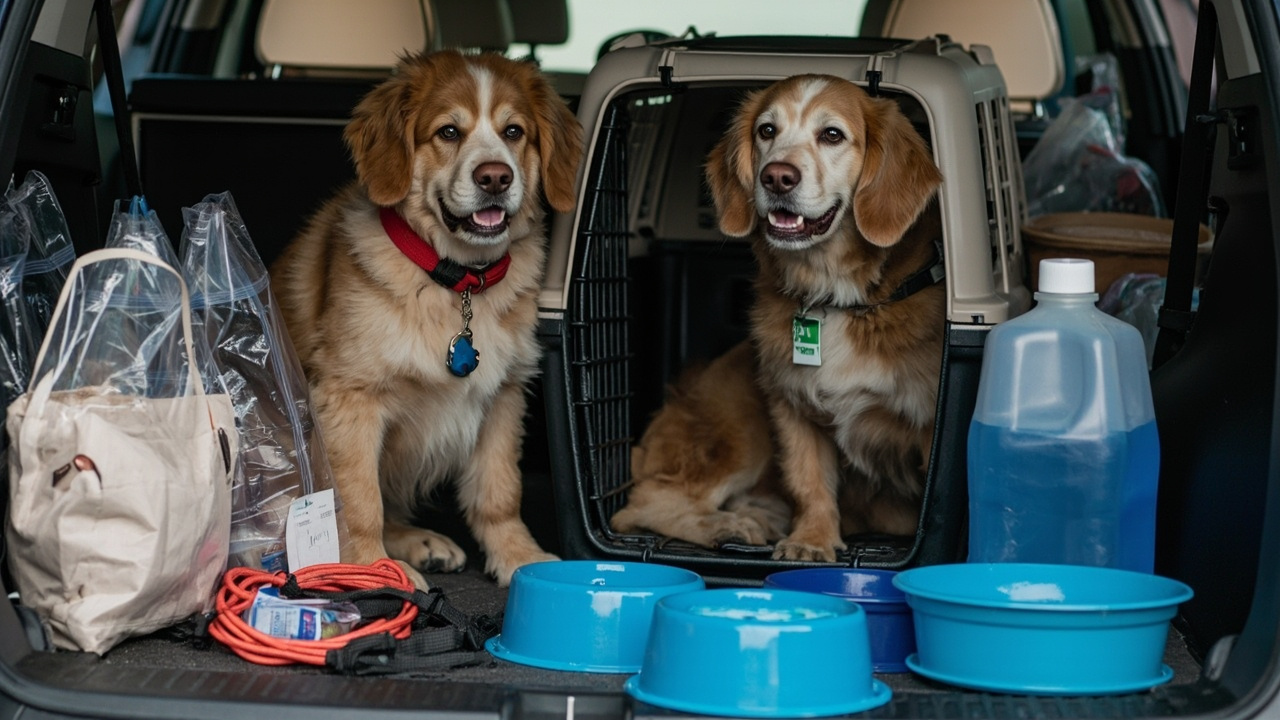
A cat is easier to control inside a carrier. If you do not have one, a sturdy box with air holes or a pillowcase can hold a cat for a short trip. Secure the carrier with a seatbelt so it does not slide or tip in the car.
Calling Ahead
The moment any phone line or data signal comes back, call ahead. Tell the clinic what happened and what you did. They can tell you if they are open, which route is clear, and what to do on the way. A short call can save time and stress.
For more on carriers, routes, and go bags, see our guide to pet emergency preparedness.
Remember, this guide is not a replacement for a vet. Build a bond with a local vet, ideally a rural one, and ask ahead about fluids and transport.
Building Your Pet First Aid Kit: What to Stock
A good kit turns a scary moment into a manageable one. You do not need anything fancy. You just need the right basics, stored where you can grab them fast. Keep one at home and a smaller one in your car.
The Core Supplies
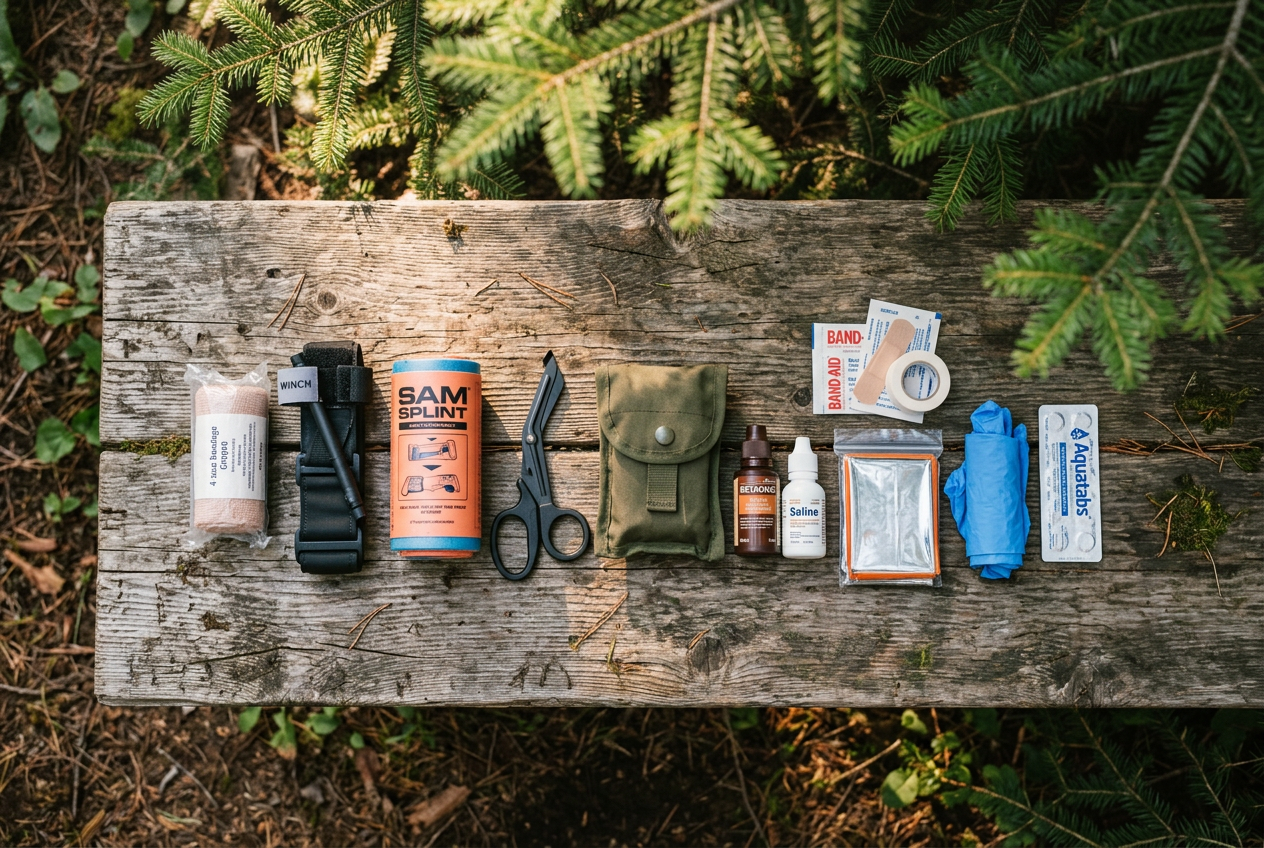
Start with wound and bandage items. Stock gauze pads and gauze rolls, self-sticking bandage wrap that does not pull fur, and blunt-tipped scissors. Add non-stick pads so bandages do not stick to wounds. Include saline wash to flush dirt from cuts and eyes. A styptic pencil or styptic powder helps stop bleeding from a torn nail.
Next, add tools for checking and handling. A digital thermometer lets you take a rectal temperature. Tweezers and a tick remover help you pull out splinters and ticks. A slip leash gives you control, and a thermal or foil blanket keeps a pet warm during shock or cold weather. Pack a syringe without a needle for giving water or vet-directed medicine by mouth.
Round it out with gloves, antiseptic wipes, cotton balls, and a small towel you can roll into a makeshift muzzle. For more on where this kit fits into your wider plan, see our pet emergency preparedness guide.
Pre-Made Vet-Reviewed Kits
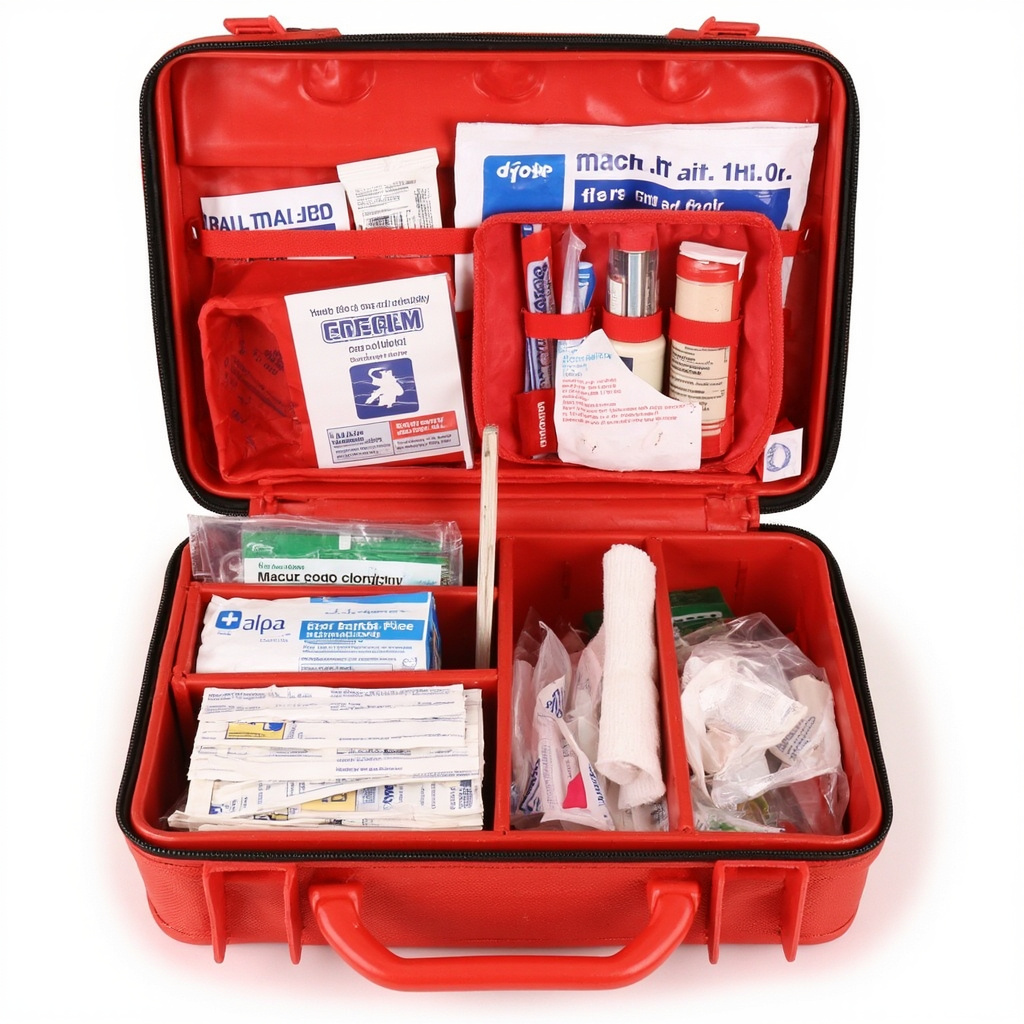
Building a kit from scratch takes time. A ready-made kit gives you a solid starting point in one box. Many come in water-resistant cases that hold up in a car, backpack, or go-bag.
This first option is a hard-sided, water-resistant kit built for home, car, and outdoor use. It includes vet-wrap, a tick remover, first aid pads, saline wash, a styptic pencil, a slip leash, and a thermal blanket.
The next kit is designed for travel and comes with a dog muzzle, a tick kit, an emergency flashlight, and a mini pouch for grab-and-go trips. The muzzle is handy, since even a gentle pet may bite when scared or in pain.

This last kit focuses on everyday and emergency wound care. It includes antiseptic wipes, bandages, a blanket, a thermometer, sterile pads, bandage scissors, tweezers, gauze rolls, and a syringe in a weather-resistant bag.

Customize It Before You Need It
No kit comes ready for your exact pet. Add a copy of your pet’s medical records, vaccine history, and a recent photo in case you get separated. Include your vet’s phone number and the ASPCA Animal Poison Control number.
Most important, add the medicines your vet has approved for your dog or cat, with the doses your vet gave you written down. Do this ahead of time, during a calm visit. Check your kit twice a year. Replace anything used or expired so it is ready when you are.
Frequently Asked Questions
Can I use human first aid supplies on my dog or cat?
Some items work fine. Clean gauze, sterile saline, and self-adhesive wrap are safe for pets. Scissors, tweezers, and a thermal blanket also cross over. But human medicines are different. Many human drugs are dangerous or deadly for pets. Never grab a human medicine from your cabinet and give it to an animal unless your vet told you it is safe. When in doubt, use supplies for wound care only and call for guidance.
What should I never give a cat?
Cats are not small dogs. Their bodies cannot break down certain drugs. Acetaminophen (the drug in Tylenol), ibuprofen (Advil), and naproxen (Aleve) are widely reported to be dangerous for cats. We have not verified the specific toxicity details against a veterinary authority in this guide, so confirm the current list and risks with your vet or an animal poison control line. As a safe default, do not give any human pain reliever to a cat. If your cat swallows one by accident, call your vet or Animal Poison Control right away.
How do I know if an injury can wait or needs a vet now?
Watch your pet closely. Some signs mean you should get help as fast as you can. These include trouble breathing, heavy bleeding that will not stop, pale or blue gums, a swollen belly, seizures, collapse, or no response when you call them. Suspected poisoning is also urgent. Contact your veterinarian right away in these cases. Small cuts, a mild limp, or a torn nail may be able to wait a bit. But even then, check in with your vet when you can.
How do I find a rural vet who will coach me?
Start by calling vets in and near your area. Ask if they will help you learn basic home care. Some vets, especially those serving owners who live far from a clinic, may be willing to walk you through simple first aid at home. Ask about an emergency kit for your pet. Ask which supplies they suggest. Ask which doses, if any, are safe for your animal. Write the answers down. Build this relationship before a disaster, not during one. For more on planning ahead, see our guide to pet emergency preparedness.
Is it safe to give my pet any medicine from the kit without calling?
No. Treat medicines as the last step, not the first. Wound care, bandaging, and keeping your pet calm are things you can do on your own. But doses depend on the animal’s weight, age, and health. The same drug that helps one pet can harm another. This is why you ask your vet ahead of time. Keep their number and the ASPCA Animal Poison Control number where you can find them fast.
Where can I learn the facts if I have more questions?
Stick with trusted veterinary sources. The AVMA, the ASPCA, the Merck Veterinary Manual, and Ready.gov all offer solid pet guidance. These are linked at the end of this article.
Your Pet First Aid Action Checklist
This checklist has two parts. The first part is what to do now, before anything happens. The second part is what to do during an emergency. Print this page or save it to your phone. Post a copy on the fridge so everyone in your home can find it fast.
Do This Now
- Build or buy a pet first aid kit. Keep one at home and one in the car.
- Write down your vet’s phone number and address.
- Find a backup vet or emergency clinic. Write that number down too.
- Save the ASPCA Animal Poison Control number in your phone.
- Talk to a friendly vet, ideally a rural one, about safe doses and your kit.
- Learn your pet’s normal temperature, pulse, breathing rate, and gum color.
- Write those baseline numbers on this checklist.
- Practice safe restraint and putting on a muzzle while your pet is calm.
- Keep a copy of vaccine records with the kit.
- Read our guide on pet emergency preparedness.
Record Your Pet’s Baselines
Ask your vet for the normal ranges for your specific pet. Write them in. Known baselines help you spot trouble fast.
During an Emergency
- Stay calm. Take a slow breath first.
- Keep yourself safe. Scared pets may bite. Use a muzzle if needed.
- Never muzzle a pet that is vomiting, choking, or struggling to breathe.
- Check airway, breathing, and gum color.
- Control heavy bleeding with firm, direct pressure.
- Call your vet or the poison control line right away.
- Follow their instructions carefully. Do not guess at doses.
- Do not give human pain pills. Ibuprofen, naproxen, and acetaminophen can harm pets. Acetaminophen can kill cats.
- Keep an injured pet warm and still.
- Watch for shock. Pale gums, fast breathing, and weakness are warning signs.
- Transport safely in a carrier or on a flat board.
- Keep the phone number handy on the way to care.
A Quick Reminder
This checklist does not replace a vet. It helps you act while you reach one. Build that relationship now. Ask questions before an emergency, not during one. A vet who knows you and your pet is your best tool. Keep this list where you can grab it without thinking, because in a real emergency you will not have time to search.
Conclusion: Prepare Calmly, Act Confidently
You do not need to be a vet to help your pet in a crisis. You just need a few basic skills and a kit you can reach fast. When the roads are washed out or the clinic is hours away, the steps in this guide can buy time. That time matters. Stopping bleeding, cooling a hot dog, or keeping a shocky cat warm can hold your pet steady until real care is reachable.
Remember the one rule that never changes. This guide is not a replacement for a veterinarian. First aid stabilizes. It does not cure. Your goal is always to get your pet to professional care as soon as you safely can.
So here is what to do this week. Start with three simple moves.
1. Talk to a vet now, not during the emergency
Call a clinic and build a real relationship before you ever need one. A rural vet is often a good fit. Many are used to owners who live far out and handle basic care at home. Ask them plainly: What over the counter items are safe for my pet? What doses would you want me to use? What belongs in my kit? Write their answers down. Keep that note with your supplies. Never guess a dose. Get it from your own vet, who knows your animal’s weight, age, and health.
2. Assemble your supplies
You do not need to spend a lot. Many useful items are already in your home. A clean towel, saline, gauze, and tape go a long way. Add a self adhesive wrap that sticks to itself and not to fur, like a roll of vet wrap. A soft, breathable muzzle helps keep a scared pet from biting while you work. If you would rather grab one ready made box, a prepackaged kit such as the ARCA PET first aid kit gives you a solid start. Store everything in one spot. Everyone in the house should know where it is.
3. Review your wider pet plan
First aid is one piece of a bigger picture. You also need an evacuation plan, carriers, food, water, and copies of records. Walk through our full guide on pet emergency preparedness and fill any gaps.
You can also print this page. Keep it with your kit so the steps are right there when you are stressed and hands are shaking.
The calm truth is this. Most pet owners can learn these skills. A little practice, a short talk with a friendly vet, and a stocked box turn panic into a plan. You will not know everything. You do not have to. You just have to help your pet breathe, stop a bleed, or stay warm long enough to reach someone who can do more. Prepare now, while things are quiet. Then, if the worst day comes, you will act with steady hands and a clear head.
Sources and Further Reading
- Pet First Aid Tips: Preparing for an Emergency Trip to the Vet
- AVMA First Aid Tips for Pet Owners
- Pet First Aid And Disaster Response Guide
- Pet First Aid Tips: Preparing for an Emergency Trip to the Vet
- Pet First Aid Tips: Preparing for an Emergency Trip to the Vet
- www.ready.gov
- www.avma.org
- www.aspca.org
- www.merckvetmanual.com
- fda.gov guidance